- Strawberries: 450 g (1 lb), hulled (fresh or frozen)
- Sugar: 50–70 g (1/4 to 1/3 cup), to taste
- Lemon juice: 1 tbsp
- Cornstarch: 1 tbsp + 1 tbsp water (slurry)
- Vanilla: 1/2 tsp (optional)
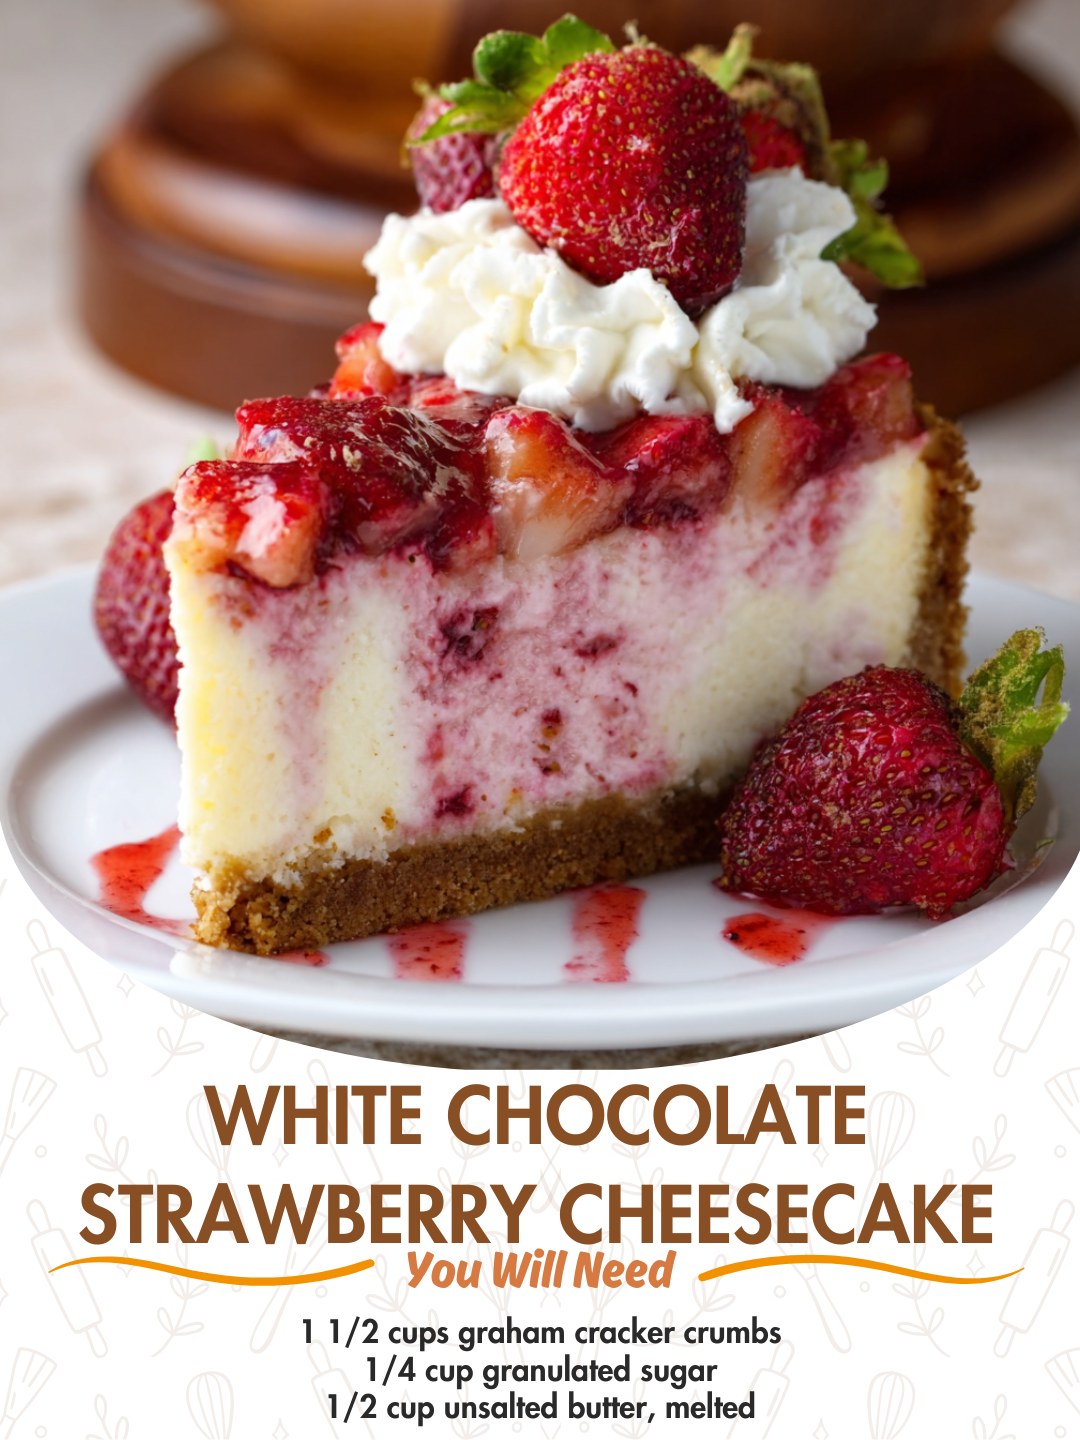
Optional Garnish
- White chocolate curls or drizzle
- Fresh strawberries
- Whipped cream
White chocolate note: Use real white chocolate (with cocoa butter) for best melt and flavor.
White chocolate chips can work, but some brands melt thicker due to stabilizers.
Instructions:
Part A: Make the Crust
Step 1: Prep oven and pan
Preheat oven to 160°C / 325°F. Grease a 9-inch springform pan.
For extra security, wrap the outside of the pan with heavy-duty foil (in case you use a water bath).
Step 2: Mix and press
Combine graham cracker crumbs, sugar, salt, and melted butter until evenly moistened.
Press firmly into the bottom of the pan (use the bottom of a glass for a tight, even layer).
Step 3: Prebake
Bake crust for 8–10 minutes, then set aside to cool while you make the filling.
Part B: Make the White Chocolate Cheesecake Filling
Step 1: Melt white chocolate
Melt white chocolate gently (microwave in short bursts, stirring often, or use a double boiler).
Let it cool slightly—warm, not hot—so it doesn’t shock the batter.
Step 2: Beat cream cheese and sugar
In a large bowl, beat cream cheese on low-medium until smooth. Add sugar and mix until combined.
Avoid high speed—too much air can cause cracks.
Step 3: Add sour cream and flavor
Mix in sour cream, vanilla, salt, and optional lemon zest until smooth.
Step 4: Add eggs gently
Add eggs one at a time, mixing on low just until each egg disappears into the batter.
Do not overmix.
Step 5: Add melted white chocolate
Pour in the melted white chocolate and mix on low until fully incorporated.
Scrape the bowl to ensure a smooth batter.
Part C: Bake the Cheesecake
Step 1: Pour and smooth
Pour batter into the cooled crust. Tap the pan gently to release bubbles.
Step 2: Water bath (recommended)
Place the springform pan in a larger roasting pan. Add hot water to the roasting pan until it reaches halfway up the springform pan.
This helps prevent cracks and creates a silky texture.
Step 3: Bake
Bake at 160°C / 325°F for 60–75 minutes, until the edges are set but the center still has a gentle wobble.
Turn off oven, crack the door, and let the cheesecake cool inside for 45–60 minutes.
Step 4: Chill
Cool to room temperature, then refrigerate for at least 6 hours (overnight is best) to fully set.
Part D: Make the Strawberry Topping
Step 1: Simmer strawberries
In a saucepan, combine strawberries, sugar, and lemon juice. Simmer over medium heat for 6–10 minutes
until strawberries soften and release juices.
Step 2: Thicken
Stir in cornstarch slurry and cook for 1–2 minutes until glossy and thickened. Stir in vanilla if using.
Cool completely before spooning on cheesecake.
Part E: Assemble
Release cheesecake from pan. Spoon cooled strawberry topping over the top. Garnish with white chocolate curls, fresh berries,
or whipped cream if desired.
Serving and Storage:
Serving
Cheesecake slices best when cold, but tastes best after sitting at room temperature for 10–15 minutes.
Use a sharp knife dipped in hot water and wiped clean between slices for neat cuts.
- Best temperature: chilled, slightly softened
- Presentation tip: add topping right before serving for the brightest look
- Pairings: coffee, black tea, sparkling water, or a light dessert wine
Storage
Store covered in the refrigerator for 4–5 days.
Keep topping separate if you want the top to stay extra glossy and fresh.
Freezing
Freeze cheesecake (without topping) for up to 2 months. Wrap slices tightly.
Thaw overnight in the refrigerator, then add strawberry topping before serving.
Tips:
These tips help you get a smooth cheesecake with no cracks and a topping that looks bakery-perfect.
Tip 1: Room temperature ingredients
Soft cream cheese and room-temperature eggs blend smoothly, preventing lumps and reducing overmixing.
Tip 2: Mix on low speed
Overmixing adds air, and air expands during baking—this is one of the biggest causes of cracks.
Tip 3: Use a water bath
Steam keeps the bake gentle and even, giving you that ultra-creamy cheesecake texture.
Tip 4: Cool slowly
Sudden temperature changes can cause cracking. Cooling in the oven with the door cracked is a simple fix.
Tip 5: Cool topping before adding
Warm topping can melt the surface and create condensation. Let it cool completely for the best finish.
Variations:
1) No-Bake White Chocolate Strawberry Cheesecake
Use a no-bake cheesecake base (cream cheese + whipped cream) and fold in melted white chocolate.
Chill until set, then top with strawberry compote.
2) Strawberry Swirl Cheesecake
Add spoonfuls of strawberry compote into the batter before baking and swirl gently with a knife.
(Avoid too much liquid to keep the texture stable.)
3) Chocolate Cookie Crust
Swap graham crackers for chocolate cookie crumbs for a “strawberries & cream” meets chocolate vibe.
4) Berry Mix Topping
Replace half the strawberries with raspberries for a more tangy, vibrant topping.
5) Extra White Chocolate Finish
Drizzle melted white chocolate over the strawberry topping or add white chocolate shavings around the edges.
FAQ:
Why did my cheesecake crack?
Cracks usually come from overmixing (too much air), baking too hot, or cooling too quickly.
Use low mixing speed, consider a water bath, and cool slowly in the oven.
Can I use white chocolate chips?
Yes, but choose a brand that melts smoothly. Some chips contain stabilizers that make melting thicker.
Chop them first and melt gently, stirring often.
Can I use frozen strawberries for the topping?
Absolutely. Frozen strawberries work well for compote. Simmer a little longer to reduce excess water.
How do I know the cheesecake is done?
The edges should look set, but the center should still jiggle gently like gelatin.
It will firm up as it cools and chills.
Do I have to use a water bath?
It’s recommended for the creamiest texture and fewer cracks, but you can bake without it.
If skipping, place a pan of hot water on the lower rack to add steam.
Can I make it ahead?
Yes—cheesecake is best made a day ahead. Chill overnight for the cleanest slices and most stable texture.
How long should I chill before serving?
Chill at least 6 hours, but overnight is ideal.