Introduction:
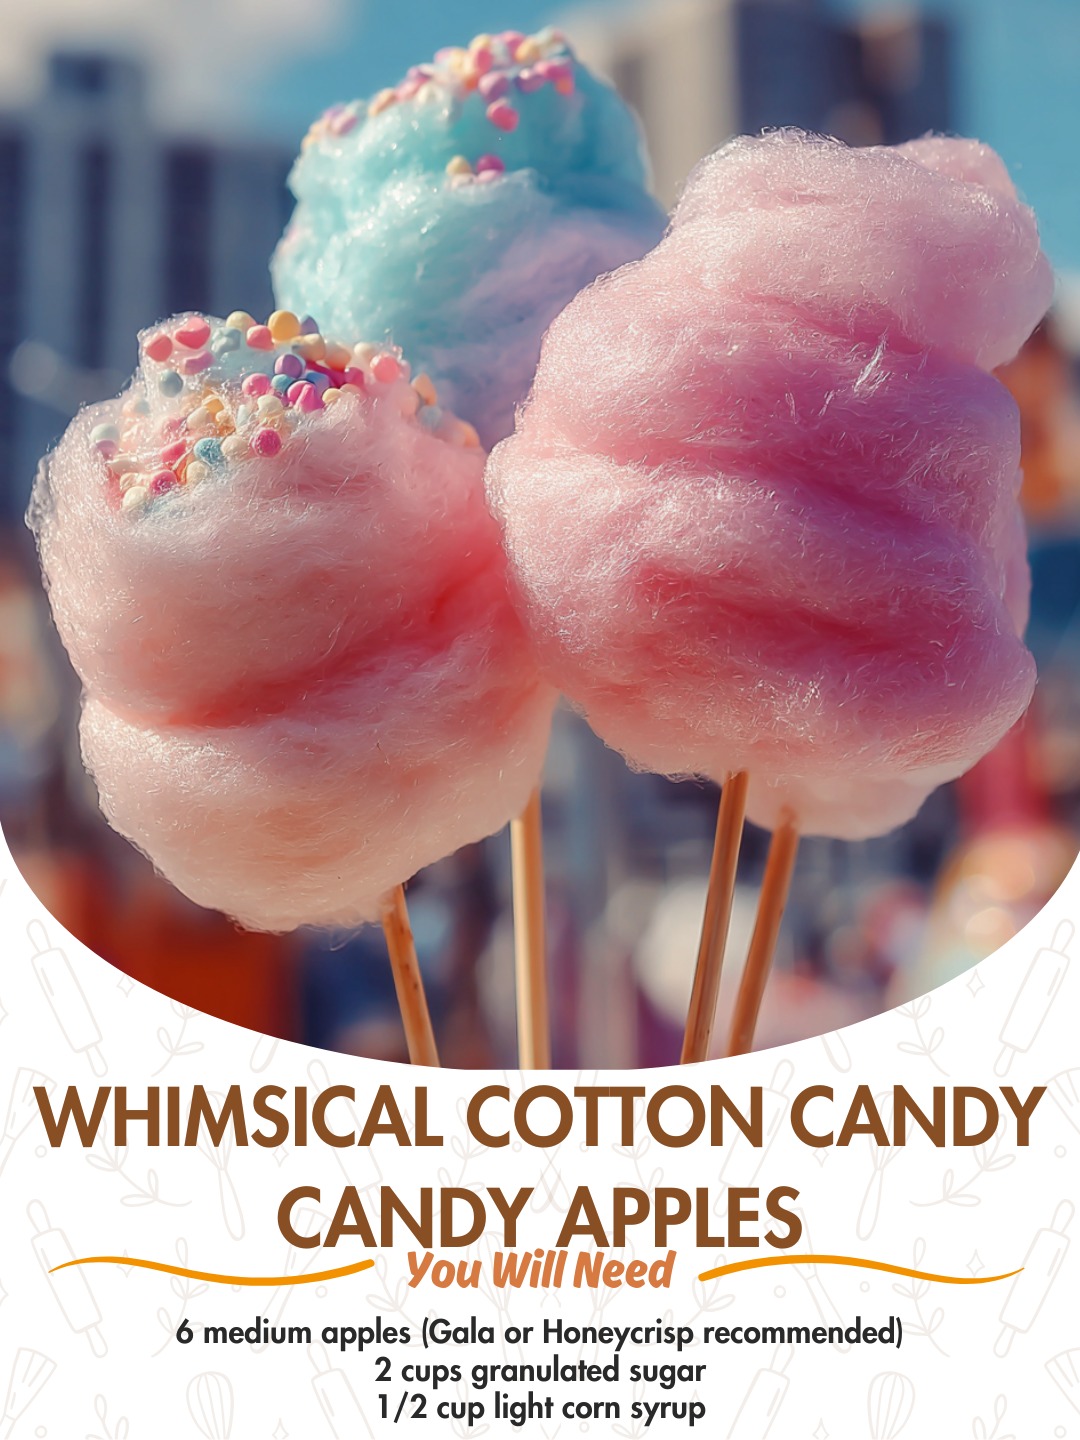
Few treats feel as instantly nostalgic and eye-catching as a candy apple—crisp fruit on a stick wrapped in a shiny, sweet
shell that cracks when you bite. Now imagine that classic fairground dessert transformed into a dreamy pastel showpiece:
Whimsical Cotton Candy Candy Apples. These apples are coated in a glossy candy layer tinted soft pink and
sky blue, then swirled together to create that unmistakable cotton-candy vibe.
They’re perfect for birthdays, baby showers, carnival-themed parties, school events, and holiday tables when you want a dessert
that doubles as décor. The best part is that you don’t need professional equipment—just a heavy saucepan, a candy thermometer,
and a little confidence. The real secret is temperature control: candy apples work when you hit the right
stage (hard crack) and work quickly while the candy is hot.
This guide walks you through every step, including the most important “make-or-break” details: removing wax from apples so the
candy sticks, avoiding crystals (grainy candy), getting clean swirls, and storing them so they stay shiny.
Ingredients:
Apples and prep
- 6 medium apples (Granny Smith for tart balance, or Honeycrisp for sweet-crisp)
- 6 wooden sticks (popsicle sticks or candy-apple sticks)
- Boiling water (for wax removal)
- Paper towels (to dry completely)
Cotton candy candy coating
- 2 cups (400g) granulated sugar
- 1/2 cup (120ml) light corn syrup
- 1/2 cup (120ml) water
- 1/2 tsp cotton candy flavoring (optional, but on-theme)
- 1/2 tsp vanilla extract (optional if you skip cotton candy flavoring)
- Gel food coloring: pink + blue (gel is best for vibrant color without thinning)
Optional decorations
- Pearl sprinkles, nonpareils, or sanding sugar
- Edible glitter or luster dust (applied lightly)
- White candy melts for drizzle
- Mini marshmallows (press gently into candy before it sets)
