-
Finely chopped green onions
-
Minced water chestnuts (for crunch)
-
Cabbage, very finely shredded
-
Ground chicken or turkey instead of pork
Step-by-Step Instructions
Step 1: Prepare the Filling
In a large bowl, combine:
-
Ground meat
-
Garlic
-
Onion
-
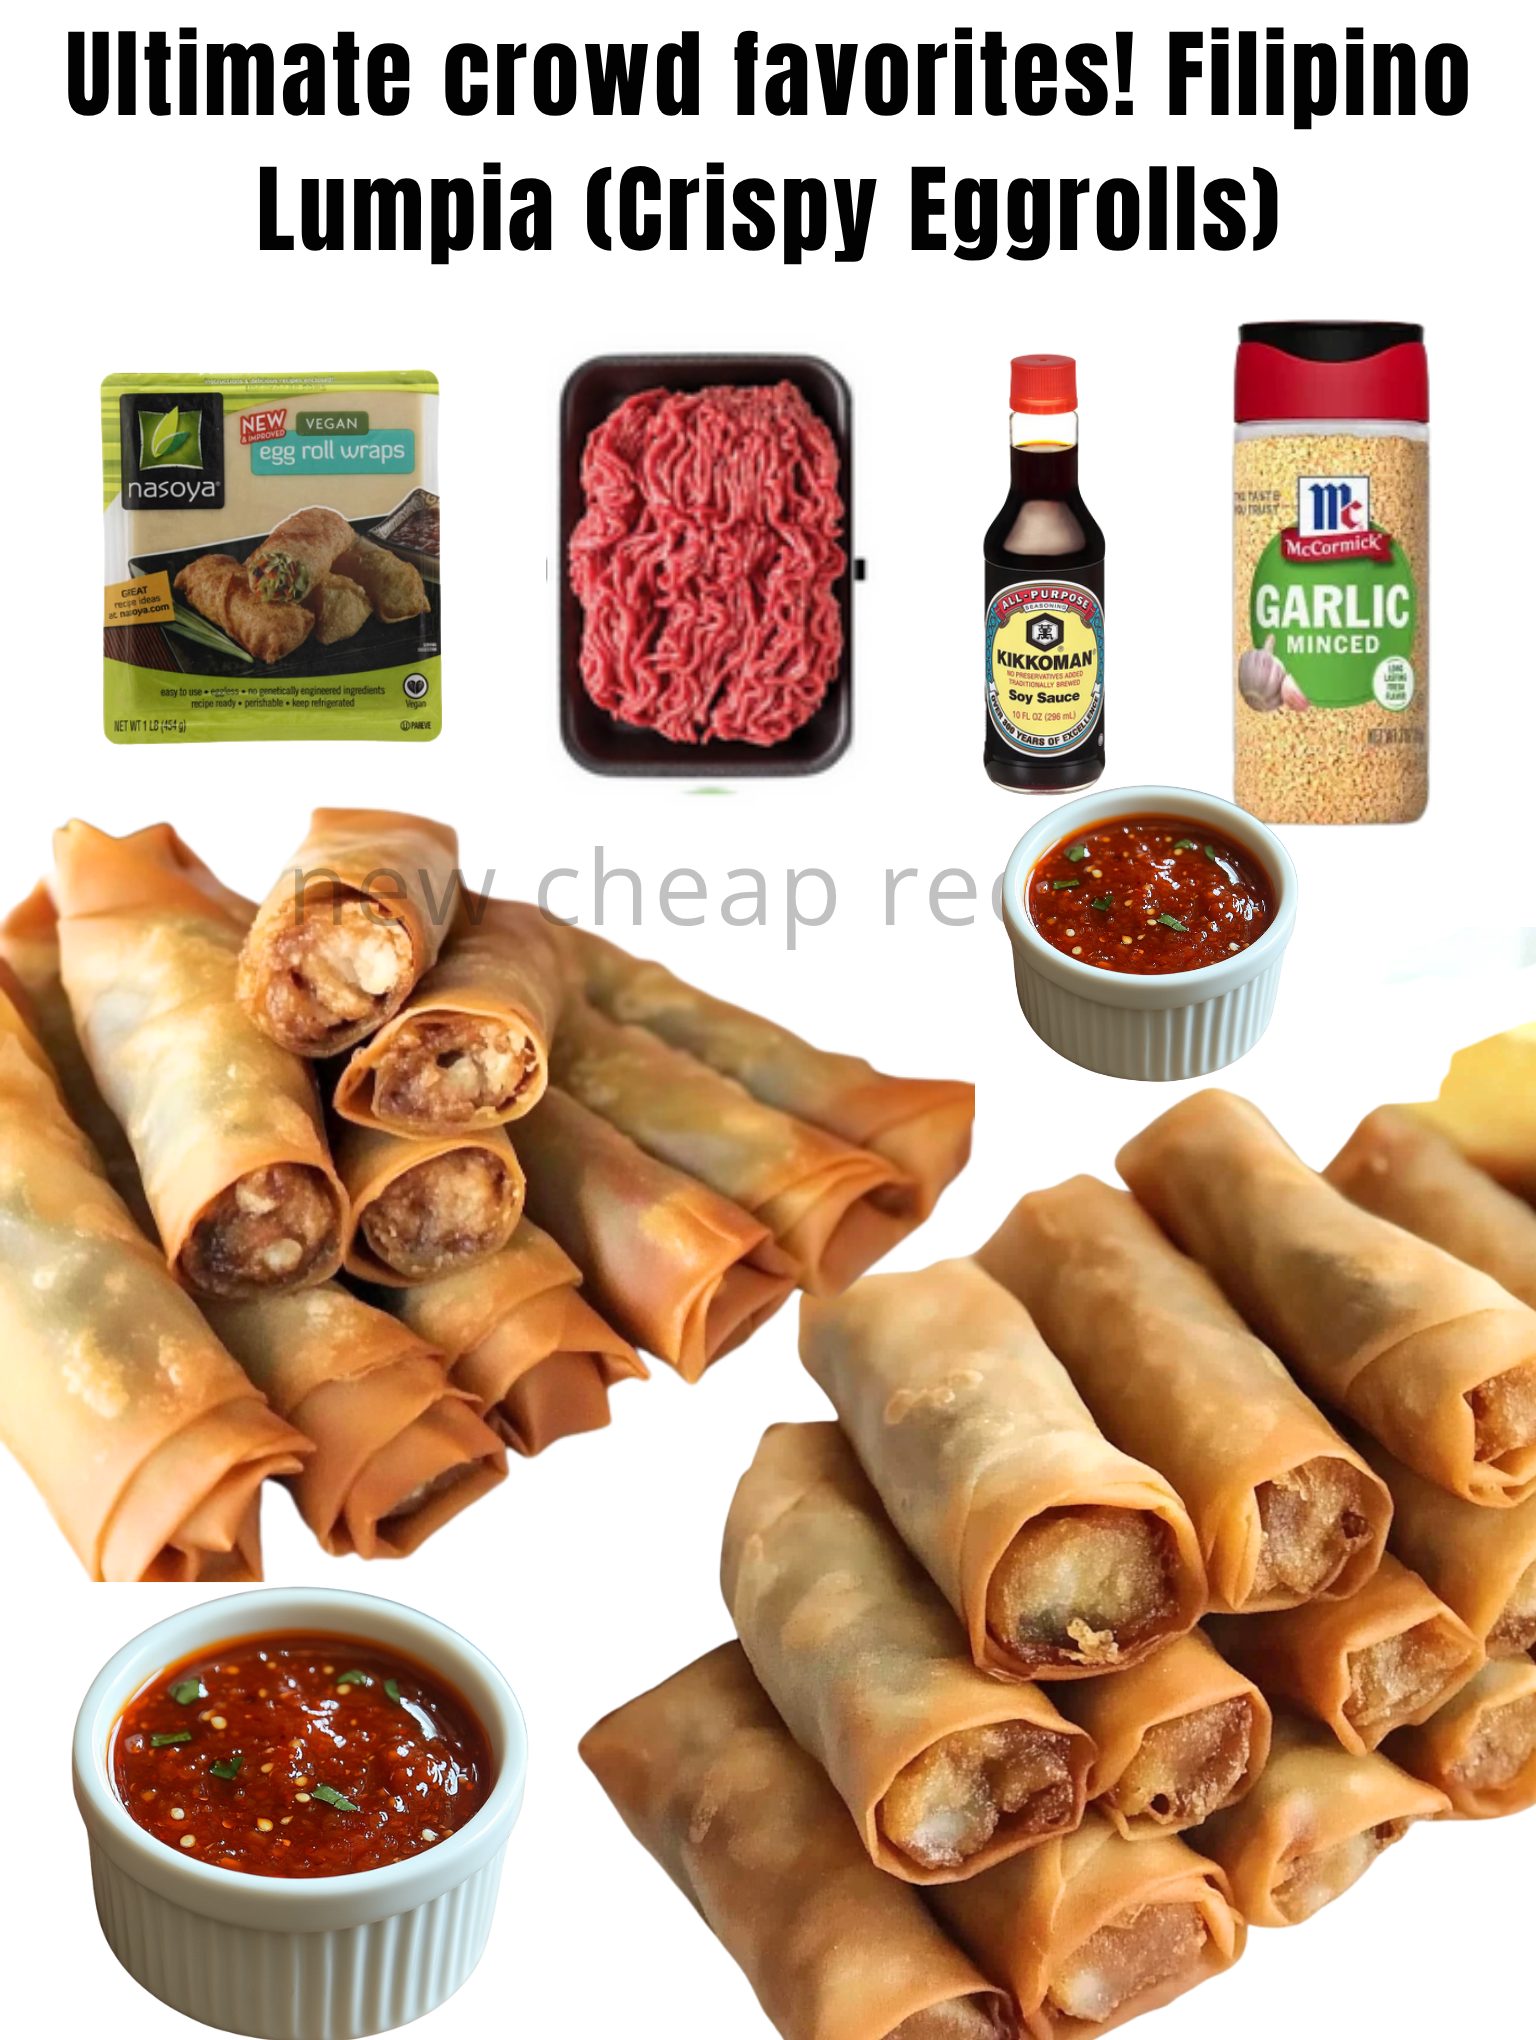
Soy sauce
-
Salt, pepper, and sugar
-
Grated carrot
Mix thoroughly using clean hands or a spoon until fully incorporated. The mixture should be moist but not watery.
Step 2: Set Up Your Wrapping Station
Lay out:
-
Egg roll wrappers
-
Small bowl with beaten egg
-
Filling mixture
-
Clean cutting board
Keep wrappers covered with a damp cloth to prevent drying.
Step 3: Wrap the Lumpia
-
Place one wrapper in a diamond shape.
-
Add 1–1½ tablespoons of filling near the bottom corner.
-
Roll tightly once, fold in the sides, then continue rolling.
-
Seal the edge with beaten egg.
Repeat until all filling is used.
Tip: Tight rolling is key for crisp lumpia that doesn’t burst while frying.
Step 4: Fry Until Golden & Crispy
-
Heat oil in a deep pan to 350°F (175°C).
-
Fry lumpia in batches—do not overcrowd.
-
Cook for 3–5 minutes, turning occasionally, until deep golden brown.
-
Transfer to a paper towel-lined plate to drain.
Step 5: Serve Hot
Serve immediately with your favorite dipping sauce for maximum crunch.
Best Dipping Sauces for Lumpia
Lumpia is delicious on its own, but sauces take it to another level.
Classic Choices
-
Sweet chili sauce
-
Banana ketchup
-
Sweet and sour sauce
Homemade Garlic Sauce
Mix:
-
½ cup sweet chili sauce
-
1 tablespoon soy sauce
-
1 teaspoon minced garlic
-
Splash of vinegar
Pro Tips for Perfect Lumpia
-
Do not overfill—this causes splitting.
-
Keep wrappers moist while working.
-
Fry at consistent temperature for even crisping.
-
Double fry for extra crunch (optional).
-
Let oil reheat between batches.
Popular Lumpia Variations
🥬 Vegetable Lumpia
Replace meat with sautéed cabbage, carrots, and bean sprouts.
🍗 Chicken Lumpia
Use ground chicken with extra seasoning.
🧀 Cheesy Lumpia
Add small strips of cheese inside before rolling.
🌶️ Spicy Lumpia
Mix chili flakes or minced chili into the filling.
Make-Ahead, Freezing & Storage
Make Ahead
You can assemble lumpia up to 24 hours in advance and refrigerate uncooked.
Freezing Lumpia (Highly Recommended)
-
Arrange uncooked lumpia on a tray.
-
Freeze until solid, then transfer to freezer bags.
-
Fry straight from frozen—no thawing needed.
Freezer life: Up to 3 months.
Storing Leftovers
Store cooked lumpia in the fridge for 2–3 days. Reheat in an oven or air fryer for best texture.
Reheating Lumpia
-
Oven: 375°F for 8–10 minutes
-
Air fryer: 350°F for 5–6 minutes
-
Avoid microwave (it softens the wrapper)
Frequently Asked Questions
Can I bake lumpia instead of frying?
Yes, but frying gives the best authentic crunch. Bake at 400°F, brushed with oil, turning once.
What wrappers are best?
Traditional lumpia or spring roll wrappers—not thick egg roll wrappers.
Is lumpia gluten-free?
Not traditionally, due to wrappers and soy sauce. Gluten-free alternatives are available.
SEO Keywords Naturally Included
Filipino lumpia, lumpiang shanghai, crispy egg rolls, Filipino spring rolls, lumpia recipe, party appetizers, fried lumpia, Filipino food recipes.
Cultural Significance of Lumpia
Lumpia is more than food—it’s tradition. In many Filipino families, lumpia-making is a group activity passed down through generations. It represents hospitality, celebration, and togetherness.
Final Thoughts
Filipino Lumpia (Crispy Egg Rolls) is a timeless classic that never goes out of style. Crunchy on the outside, savory on the inside, and endlessly customizable, it’s the ultimate crowd-pleasing dish that belongs on every table.
Whether you’re cooking for a party, prepping freezer meals, or exploring Filipino cuisine for the first time, this lumpia recipe guarantees success—one crispy bite at a time.
👉 Save this recipe, share it with friends, and be prepared to make it again and again—because one batch is never enough. 🥟🔥