1. Prep & Preheat
-
Preheat your oven to 350 °F (175 °C).
-
Line an 8″×8″ or 9″×9″ baking pan with parchment paper, leaving some overhang on two sides (for easy lifting later). Grease lightly if needed. Budget Bytes+1
2. Make the Crust
-
In a bowl, combine graham cracker crumbs, melted butter, and sugar. Stir until everything is moistened and crumbly.
-
Press mixture firmly into the bottom of the prepared pan — use the bottom of a measuring cup or glass to really compress it.
-
Bake the crust for 8–10 minutes just to set it; then remove from oven and let cool slightly while you prepare the filling. i am baker+1
3. Make the Cheesecake Filling
-
In a large bowl (or stand mixer), beat the softened cream cheese on medium speed until smooth and creamy — no lumps.
-
Add sugar and mix until incorporated.
-
Add sour cream, vanilla extract, and salt; blend again until smooth.
-
Add eggs one at a time, mixing just until each is incorporated. Avoid overmixing (too much air can cause cracks or dense texture). Preppy Kitchen+1
-
Pour the filling over the pre-baked crust, smoothing the top with a spatula.
4. Make the Strawberry Topping
-
In a small saucepan, combine chopped strawberries, sugar, cornstarch, and lemon juice (if using).
-
Cook over medium heat, stirring frequently, until the mixture begins to bubble and thicken slightly (about 4–6 minutes). The cornstarch will help turn it into a jam‑like glaze. Allow to cool slightly. The Scranline+1
-
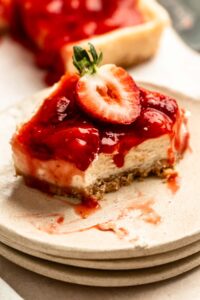
Spoon or spread the strawberry topping evenly over the cheesecake layer.
5. Bake & Chill
-
Bake in preheated oven for 30–35 minutes, or until the cheesecake is set around the edges but still slightly jiggly in the center (it will finish setting as it cools). My Baking Addiction+1
-
Turn off the oven and let the pan sit inside with the door cracked for 15–20 minutes (this helps prevent cracking). In Laura’s Bakery+1
-
Remove from oven and cool to room temperature, then refrigerate for at least 4 hours (overnight is best) before slicing. This chilling step ensures clean slices and creamy texture. i am baker+1
️ Serving & Storage
-
Use the parchment overhang to lift the bars out of the pan; slice into 16 even squares using a sharp, warm knife for clean cuts.
-
Store covered in an airtight container in the fridge for up to 4–5 days.
-
You can also freeze individual slices — wrap well, freeze, then thaw in the fridge when ready to enjoy.
Variations & Tips
-
No‑bake version: Skip baking altogether — use a chilled crust + cream cheese filling + whipped cream topping + strawberry layer. Chill for several hours or freeze for a firmer “ice‑cream‑cheesecake” texture. Crayons & Cravings+1
-
Berry swap: Use raspberries, blueberries, or a mixed berry compote instead of strawberries.
-
Gluten‑free crust: Substitute graham crackers with gluten‑free cookies or almond flour + butter crust.
-
Extra flavor: Add a teaspoon of lemon zest to the cheesecake filling for a subtle citrus brightness, or a splash of almond extract for a richer flavor profile.
Why This Method Works (the “GPT V2 Way”)
-
We used a buttery graham‑cracker crust — easy, sturdy, and familiar.
-
The cream cheese + sour cream + eggs filling keeps the cheesecake rich, smooth, tangy but still light enough for bars. Preppy Kitchen+1
-
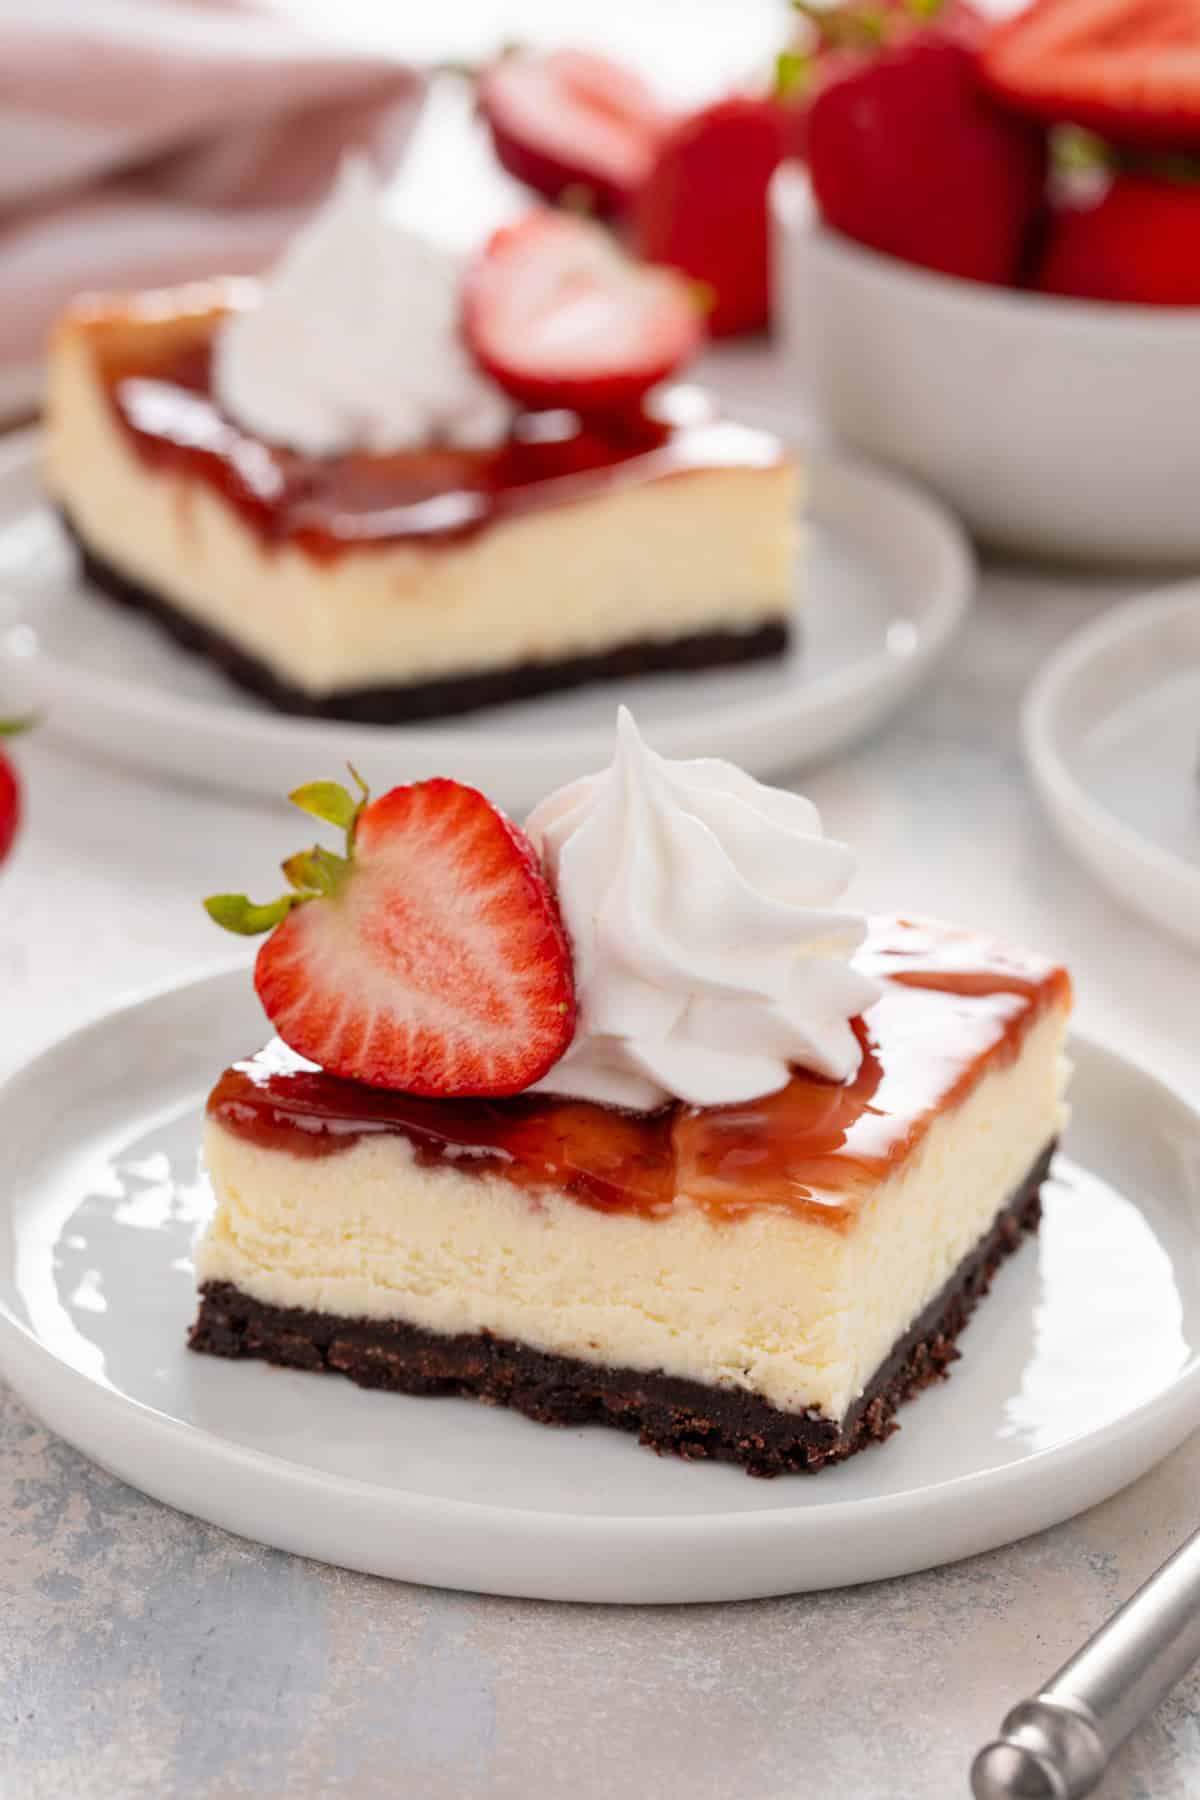
We added a fresh strawberry topping that’s gently cooked — bright, fruity, and not overly sweet, giving a fresh contrast to the creamy base.
-
Baking at moderate temperature + gradual cooling + proper chilling avoids cracks and maximizes texture. Sugar Spun Run+1
Final Thoughts
These Strawberry Cheesecake Bars deliver all the dessert magic of a classic cheesecake — creamy, dreamy, slightly tangy — but with way less fuss. They’re portable, crowd‑friendly, and perfect for almost any occasion: potlucks, birthday dinners, summer picnics, or cozy dessert nights at home.