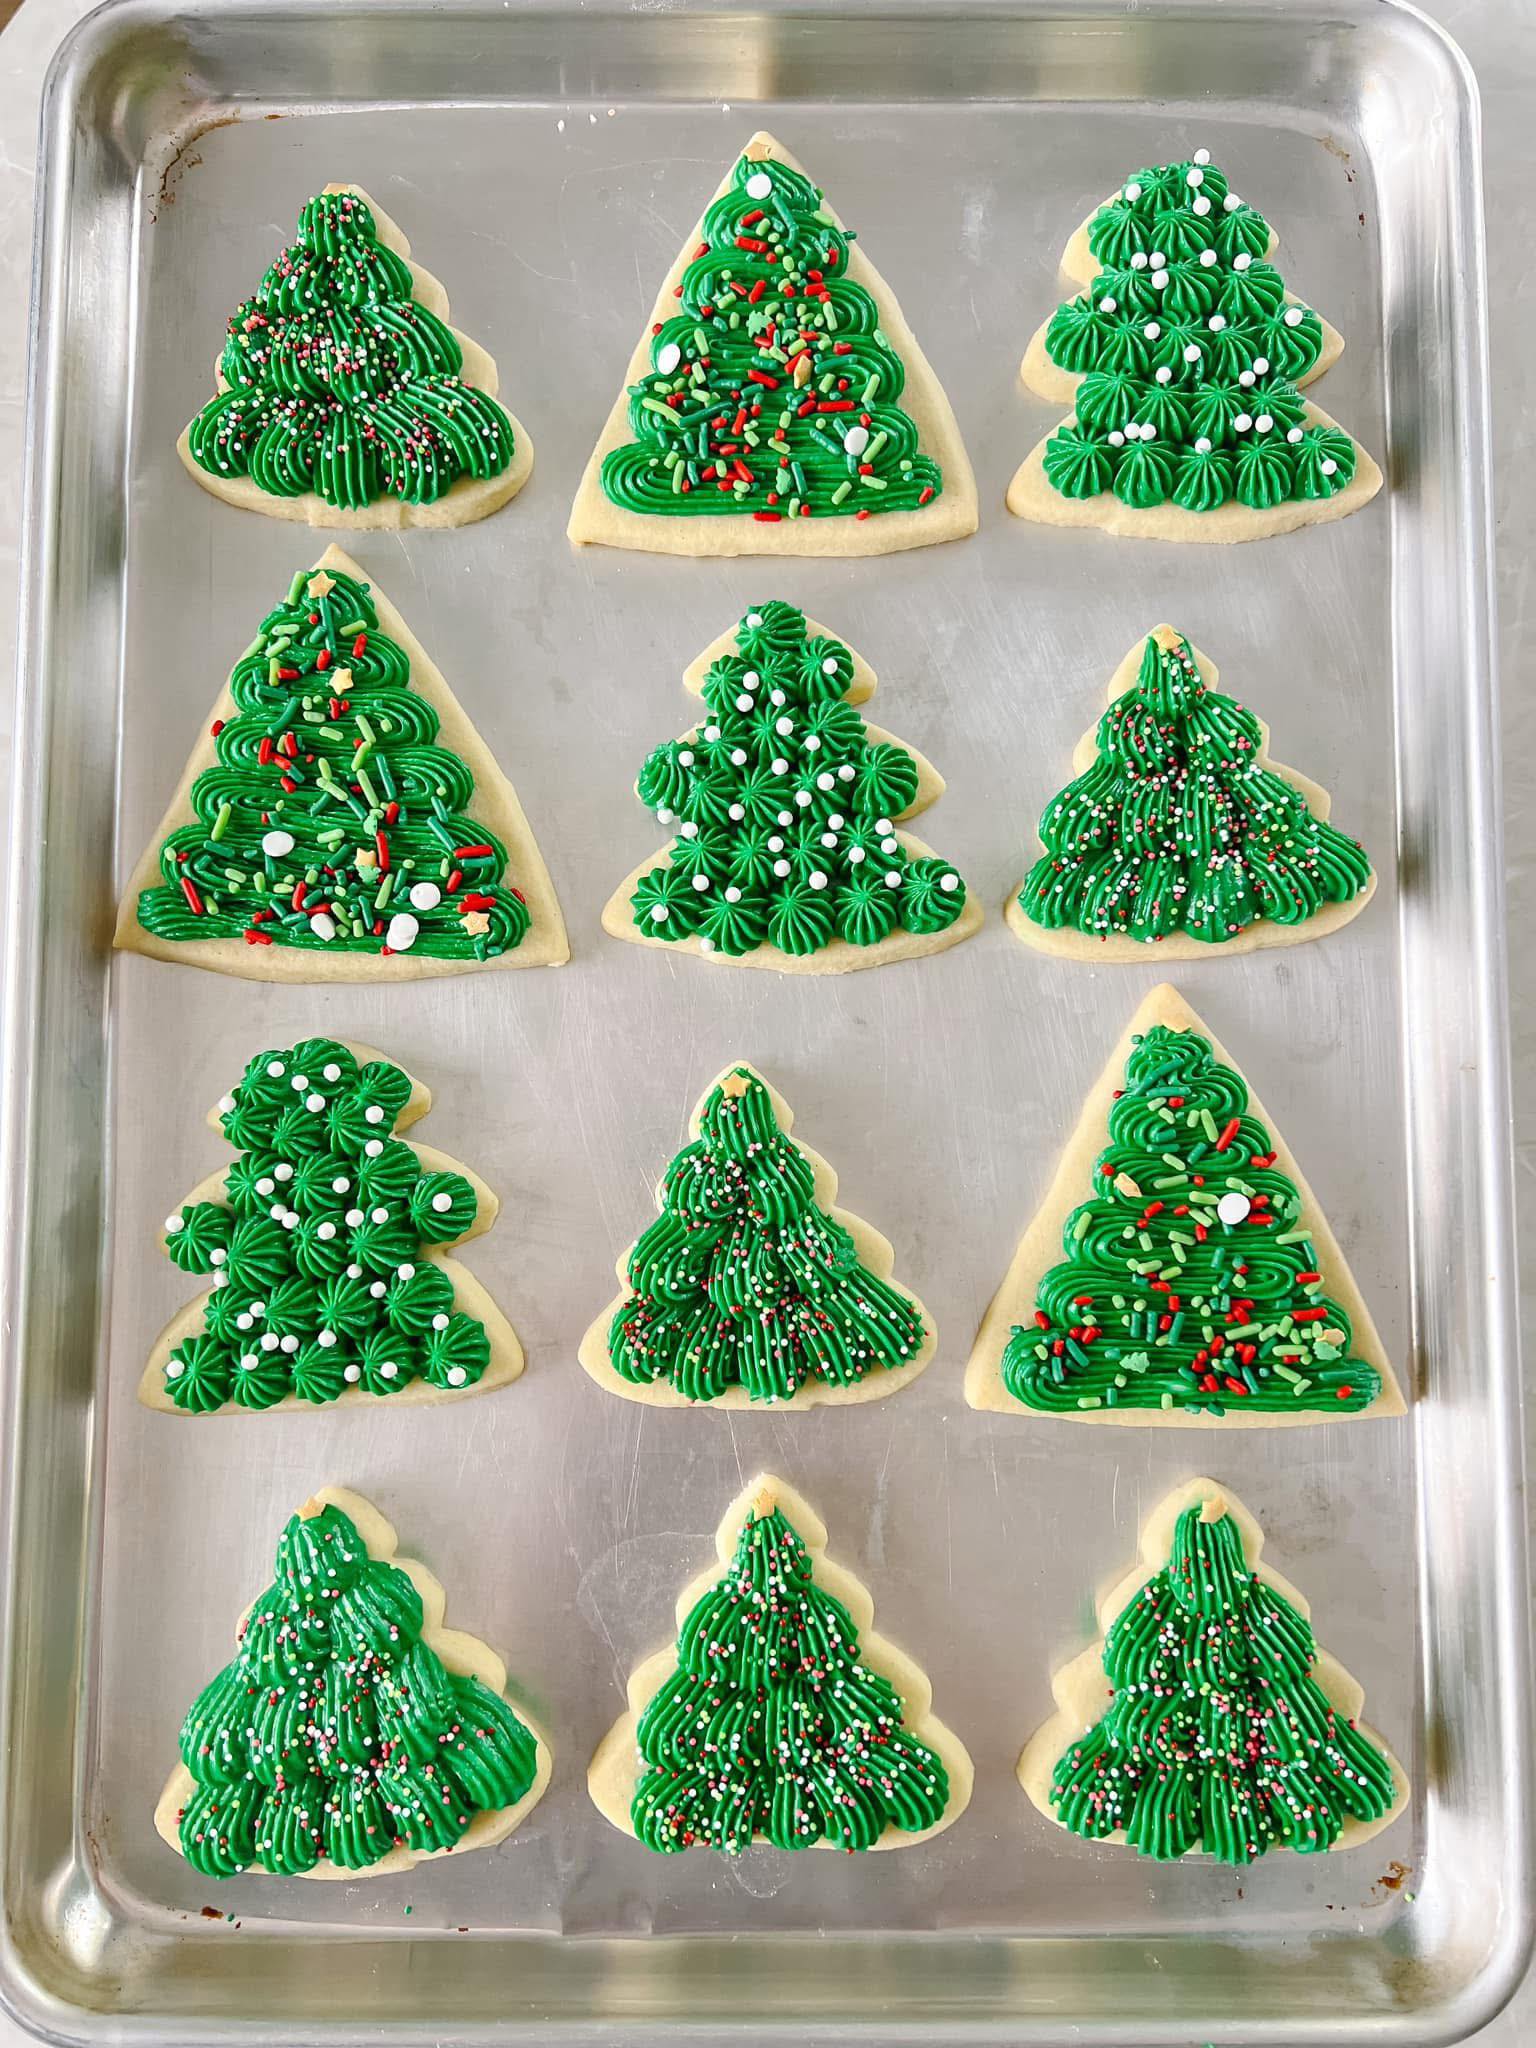
If you love the look of beautifully decorated Christmas cookies but secretly dread the mess, the endless chilling, or the “why did my cookies spread into blobs?” frustration—this recipe is for you. These no-chill sugar cookies are made to behave: the dough rolls out smoothly, cuts cleanly, and bakes up with neat edges so your Christmas trees, stars, and snowflakes actually look like Christmas trees, stars, and snowflakes. And the frosting? It’s a simple, pipe-friendly buttercream that holds its shape like a dream, especially with a star tip like the Wilton #32.
One of the best parts about decorating this way is speed. Instead of smearing frosting around (and getting it everywhere—same ), you can pipe quick stars, shells, and zigzags, then finish with sprinkles. The result looks festive and “fancy,” but it’s honestly one of the easiest cookie decorating methods you can do at home. You don’t need royal icing skills, you don’t need a hundred tools, and you definitely don’t need perfection. These cookies are supposed to feel joyful.
This recipe includes everything you need: a reliable cookie dough, baking tips for crisp edges and soft centers, and a frosting that’s sturdy enough for piping but still creamy and delicious to eat.
Part 1: No-Chill Sugar Cookies (Hold-Their-Shape Cut-Outs)
Ingredients (Makes about 24–36 cookies depending on size)
-
1 cup (226 g) unsalted butter, softened (not melted)
-
1 cup (200 g) granulated sugar
-
1 large egg
-
1 large egg yolk (extra richness + structure)
-
2 teaspoons vanilla extract
-
1/2 teaspoon almond extract (optional but amazing for that bakery flavor)
-
3 cups (375 g) all-purpose flour, spooned & leveled
-
1 teaspoon baking powder
-
1/2 teaspoon salt
Optional (but helpful)
-
1–2 tablespoons flour for rolling
-
Extra sugar for sprinkling (if you want a sparkly finish)
Step-by-Step Instructions
1) Preheat + Prep
Preheat your oven to 350°F (175°C). Line baking sheets with parchment paper (or silicone mats). Parchment helps prevent over-browning on the bottoms and makes cleanup easier.
2) Cream Butter and Sugar
In a large bowl, beat the softened butter and sugar together for 2–3 minutes, until light and fluffy. This step matters: creaming adds air and helps the cookies bake evenly.
3) Add Egg + Flavor
Mix in the egg and egg yolk until combined, then add vanilla (and almond extract if using). Scrape the bowl so everything mixes smoothly.
4) Add Dry Ingredients
In a separate bowl, whisk together flour, baking powder, and salt. Add the dry mixture to the wet ingredients in 2–3 additions, mixing on low speed just until a dough forms.
Do not overmix—overmixing can make cookies tough.
5) Roll and Cut (No Chill!)
Divide dough in half for easier handling. Roll to 1/4-inch thickness on a lightly floured surface. Cut shapes and transfer them to your prepared baking sheets.
Shape tip: For crisp, defined edges, avoid re-rolling the dough too many times. Re-rolled scraps can get floury and less tender, but they’ll still taste great.
6) Bake
Bake for 8–11 minutes depending on cookie size:
-
Small cookies: 8–9 minutes
-
Medium cookies: 9–10 minutes
-
Large cookies: 10–11 minutes
You’re looking for set tops and lightly golden edges, not deep browning.
7) Cool Completely
Let cookies cool on the tray for 5 minutes, then move to a rack. Cool completely before frosting—warm cookies will melt your buttercream.
