In a saucepan over low heat, melt butter and chocolate together, stirring until smooth.
Whisk in cream, cocoa powder, sugar (if using), vanilla, and a pinch of salt.
Continue stirring until glossy and fully combined.
Pour the warm chocolate mixture over the biscuit chunks. Fold gently until every piece is coated.
The mixture should look thick and spoonable, not runny.
Spoon the mixture into the lined pan. Press down firmly with a spatula to remove air pockets and compact the cake.
This step helps it slice cleanly.
Cover and refrigerate for at least 4 hours, preferably overnight, until firm.
(If you’re in a rush, freeze for 60–90 minutes, then move to the fridge.)
Lift cake out using parchment. Drizzle with melted chocolate, dust with cocoa, or add sprinkles.
Slice with a sharp knife (wipe between cuts for clean edges).
Serving and Storage:
Serve chilled or at cool room temperature. For a dessert-plate upgrade, pair slices with whipped cream,
fresh berries, or a scoop of vanilla ice cream. A hot espresso or tea on the side makes it feel extra cozy.
Storage: Keep in an airtight container in the fridge for up to 7 days.
Freezing: Freeze slices wrapped individually for up to 2 months.
Thaw in the fridge overnight or at room temperature for 20–30 minutes.
Tips:
- Use good chocolate: The flavor depends on it. Semi-sweet gives the best balance.
- Don’t crush biscuits too fine: You want chunks for that signature mosaic look when sliced.
- Press firmly: Compacting prevents crumbly slices.
- Slice cleanly: Warm your knife under hot water, wipe dry, then cut.
- Not too sweet: Taste your mixture before adding sugar—many chocolates are already sweet enough.
Variations:
- Mocha Biscuit Cake: Add 1 tbsp espresso powder to the chocolate mixture.
- Orange Chocolate: Add 1 tsp orange zest and a drop of orange extract.
- Nutty Crunch: Add toasted hazelnuts or almonds for praline vibes.
- Rocky Road Style: Add mini marshmallows and chopped walnuts.
- White Chocolate Swirl: Drizzle melted white chocolate over the top and swirl with a toothpick.
Tips:
- Make it party-ready: Use a round pan and decorate the top like a cake.
- Small-bite version: Press into a square pan and cut into bite-size bars.
- Texture control: More biscuits = firmer slices; more chocolate = fudgier slices.
- Holiday twist: Add crushed peppermint candies on top for a festive finish.
Conclusion:
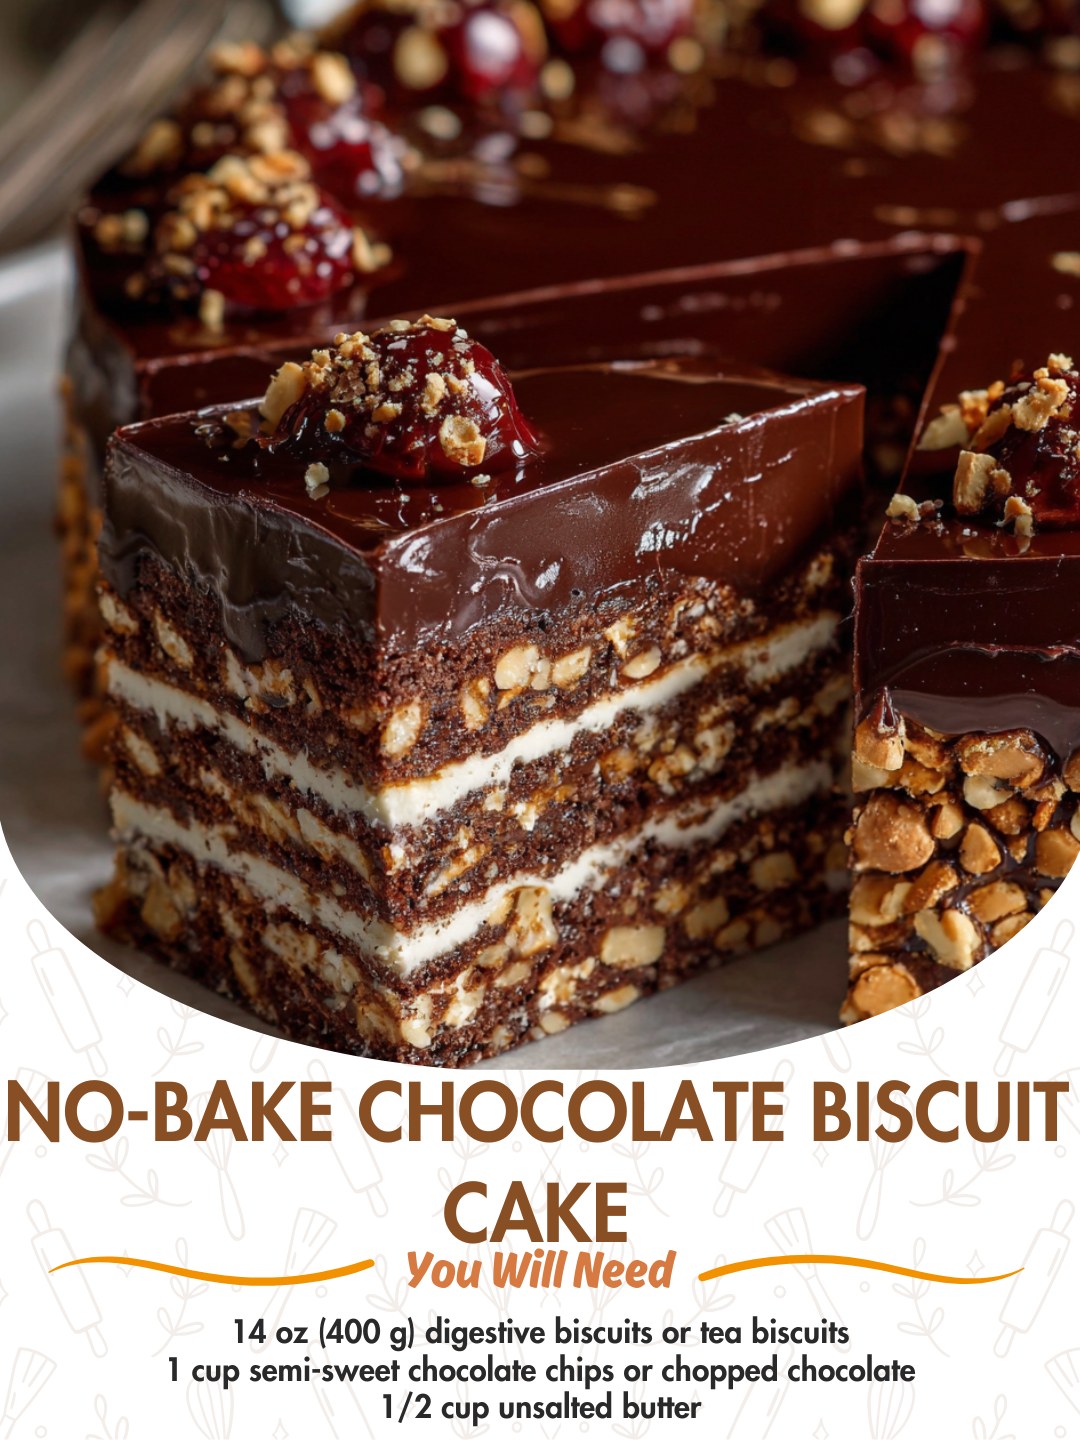
No-Bake Chocolate Biscuit Cake is proof that the simplest desserts are often the most loved. It’s rich, fudgy,
and full of crunchy biscuit pieces that create that beautiful mosaic look in every slice. Whether you keep it classic
or add your favorite mix-ins, this is the kind of no-stress recipe that always delivers—and always disappears fast.
FAQ:
What biscuits should I use?
Digestives, Marie biscuits, tea biscuits, graham crackers, or any plain, crisp cookie works well.
Avoid very soft cookies that may turn mushy.
Can I make it without cream?
Yes. Use full-fat milk instead, or even a dairy-free milk. The cake may be slightly less rich but still delicious.
Why is my cake crumbly?
It usually means it wasn’t pressed firmly enough, or there were too many biscuit crumbs and not enough chocolate binder.
Press firmly and keep biscuits in chunks rather than powder.
Can I make this gluten-free?
Yes—use gluten-free biscuits/cookies. Everything else in the recipe is naturally gluten-free (check labels to be sure).
How long does it need to chill?
At least 4 hours, but overnight gives the best sliceable texture and deeper flavor.