- Preheat oven to 350°F (175°C).
- Mix cookie crumbs, melted butter, sugar (optional), and salt until evenly moistened.
- Press firmly into a 9-inch tart pan (bottom and sides).
- Bake for 8–10 minutes. Cool completely.
2) Make the hot chocolate filling
- Place chopped chocolate in a heat-safe bowl.
- In a saucepan, heat heavy cream, milk, cocoa powder, powdered sugar (optional), and salt over medium heat until hot and
steaming (not boiling). Whisk to dissolve cocoa. - Pour hot cream mixture over chocolate and let sit 2 minutes.
- Whisk until smooth and glossy. Stir in vanilla.
- Pour filling into cooled crust. Tap pan gently to release air bubbles.
- Chill for 4–6 hours (or overnight) until set.
3) Add the marshmallow topping
- If using mini marshmallows: pile them over the tart in an even layer.
If using fluff: spread gently with a lightly greased spatula. - Optional: fold whipped cream into fluff for a lighter, mousse-like topping.
4) Toast for the “hot chocolate” finish
- Toast marshmallows with a kitchen torch until golden.
If you don’t have a torch, broil 30–90 seconds (watch closely—it browns fast). - Add garnishes like crushed peppermint, sprinkles, or chocolate shavings.
Serving and Storage:
Slice with a sharp knife (wipe between cuts for clean slices). This tart is rich, so smaller slices go a long way.
It’s perfect with coffee, peppermint tea, or a glass of milk.
Storage:
- Refrigerate covered up to 4 days.
- For best look, toast marshmallows right before serving.
Freezing: Freeze the tart without marshmallow topping up to 1 month. Thaw overnight in the fridge and top
fresh.
Tips:
- Use quality chocolate: It’s the main flavor—good chocolate makes a big difference.
- Don’t boil the cream: Too hot can split or over-thicken the ganache.
- Cool crust completely: A warm crust can soften and lose crispness.
- Chill long enough: The tart needs time to set for clean slices.
- Watch the broiler: Marshmallows go from golden to burned quickly.
Variations:
- Peppermint hot chocolate tart: Add 1/2 tsp peppermint extract to filling and top with crushed candy canes.
- Salted caramel cocoa: Drizzle caramel on top and sprinkle flaky salt.
- Spiced hot chocolate: Add cinnamon and a pinch of cayenne for warmth.
- Mocha tart: Add 1 tsp espresso powder to the cream mixture.
- S’mores version: Use graham crust and add mini chocolate chips under the marshmallow layer.
Tips:
- Make-ahead win: Bake crust and fill the tart a day early; toast topping the day you serve.
- Extra smooth filling: Strain warm cream mixture before pouring over chocolate if cocoa clumps.
- Cutting tip: Warm knife under hot water, wipe dry, then slice for neat pieces.
- Holiday look: Add peppermint bits in the center only for a clean, pretty border.
Conclusion:
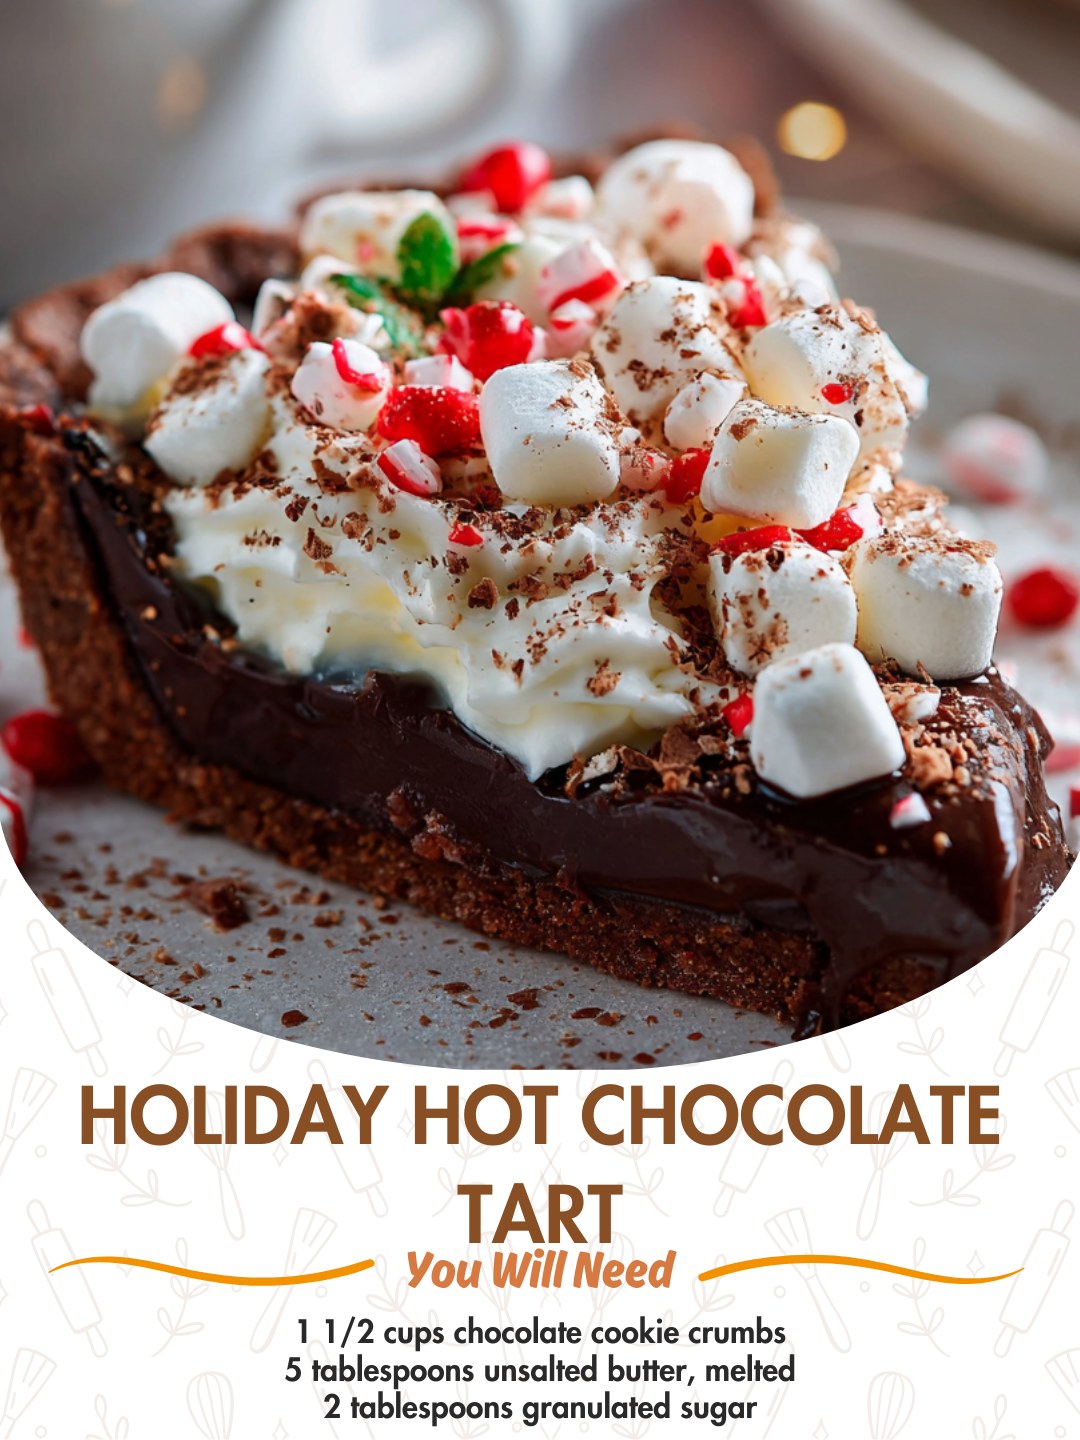
Holiday Hot Chocolate Tart is cozy winter dessert perfection—crisp cookie crust, silky chocolate filling, and toasted
marshmallows that make it feel like hot cocoa in slice form. It’s festive, make-ahead friendly, and guaranteed to impress
anyone who loves chocolate (which is basically everyone).
FAQ:
Can I make this tart without a tart pan?
Yes. Use a 9-inch pie dish. The slices may be slightly less “tart-like,” but it will taste the same.
What chocolate works best?
Semi-sweet is classic, but dark chocolate (60–70%) gives a richer, less sweet cocoa flavor.
Can I use marshmallow fluff instead of mini marshmallows?
Absolutely. Fluff spreads easily and toasts beautifully with a torch or broiler.
Why didn’t my filling set?
It likely needs more chilling time, or the chocolate-to-cream ratio was off. Chill overnight for best results.
Can I freeze it?
Yes—freeze without marshmallow topping. Add and toast marshmallows after thawing for the best texture and appearance.