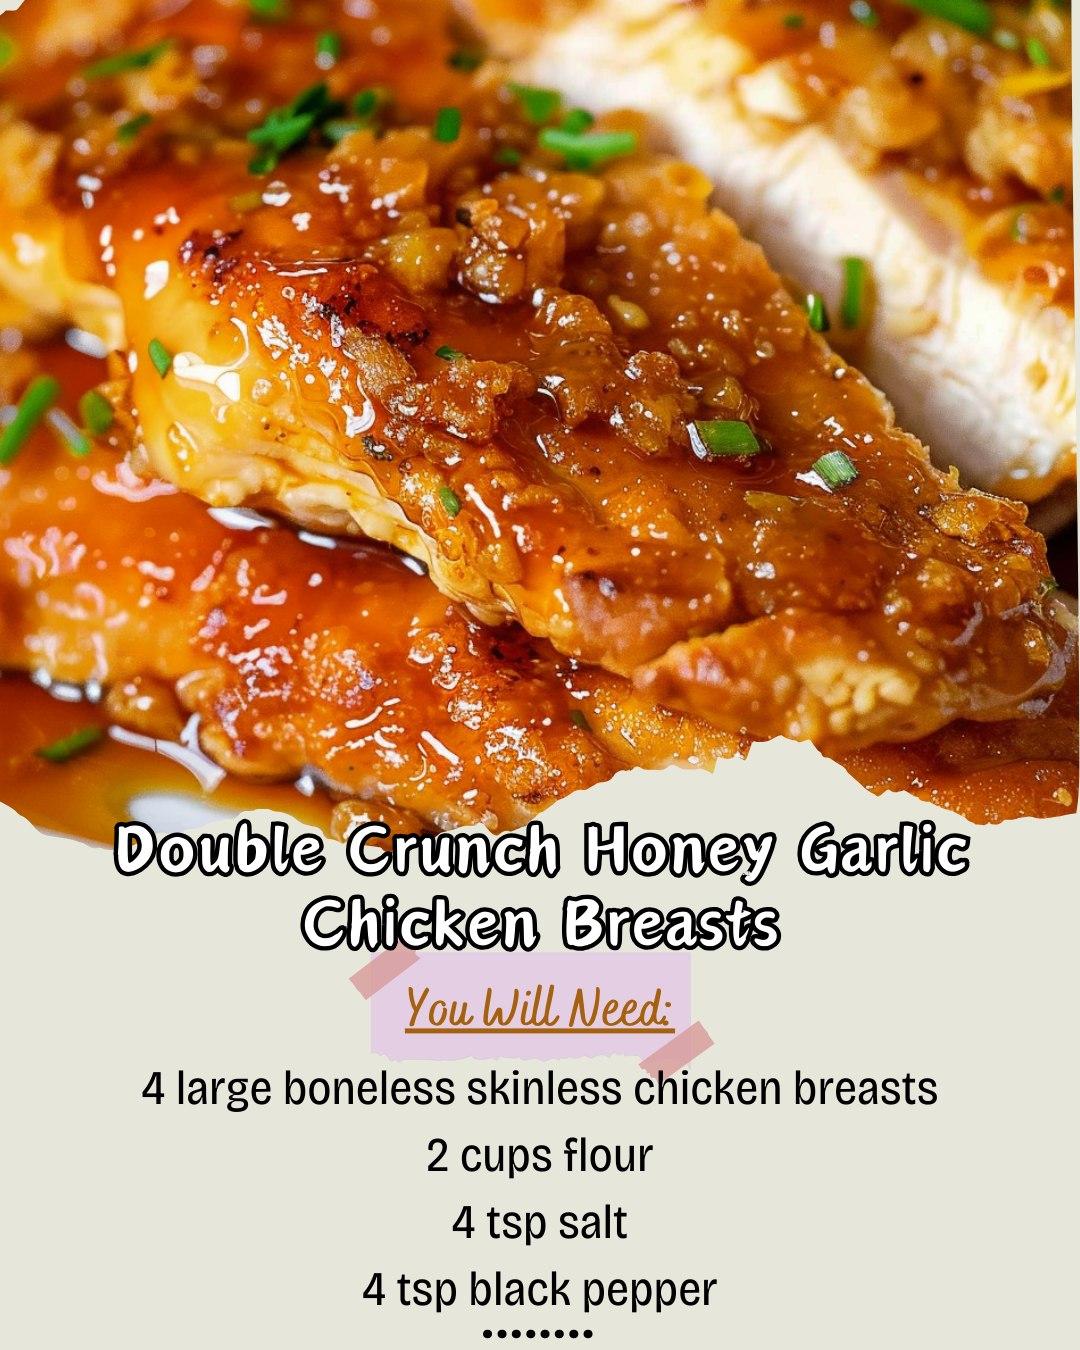
- 1/3 cup honey
- 1/4 cup soy sauce (low sodium recommended)
- 4 cloves garlic, minced
- 2 tbsp rice vinegar (or apple cider vinegar)
- 1 tbsp ketchup (optional, adds depth)
- 1 tbsp butter (optional, silky finish)
- Optional heat: red pepper flakes or sriracha to taste
Slurry (Optional, for a thicker sauce)
- 1 tsp cornstarch + 1 tbsp cold water
For Garnish (Optional)
- Sliced green onions
- Sesame seeds
Instructions
1) Prep the chicken
- Slice chicken breasts horizontally to create 4 thin cutlets.
- Pat dry and season both sides with salt, pepper, garlic powder, and paprika (if using).
2) Set up the dredging station
- In one bowl, whisk together flour, cornstarch, baking powder, salt, pepper, garlic powder, and onion powder.
- In a second bowl, whisk eggs with milk.
3) Double coat for “double crunch”
- Dredge a cutlet in dry mix, shaking off excess.
- Dip into egg mixture.
- Back into dry mix, pressing lightly so it really sticks (this is the crunch layer).
- Place on a tray and repeat with remaining chicken.
- Pro tip: Let coated chicken rest 5 minutes before frying—helps the crust set.
4) Fry until golden
- Heat 1/2 inch oil in a large skillet over medium heat until shimmering.
- Fry 2 cutlets at a time (don’t crowd) for 3–4 minutes per side, until deep golden.
- Transfer to a rack (best) or paper towels to drain.
5) Make the honey garlic sauce
- In a small saucepan over medium heat, combine honey, soy sauce, garlic, vinegar, and ketchup (if using).
- Simmer 2–3 minutes.
- If you want it thicker, stir in slurry and cook 30–60 seconds until glossy.
- Turn off heat and stir in butter (optional) for a silky finish.
6) Serve
Drizzle sauce over the crispy chicken (or toss lightly if you don’t mind losing a little crunch). Garnish with
green onions and sesame seeds.
Serving & Storage
Serve With
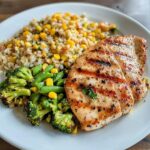
- Steamed rice or fried rice
- Roasted broccoli, green beans, or stir-fry vegetables
- Mashed potatoes and a simple salad
- Coleslaw for a crunchy, cool side
Storage
- Refrigerate: Store chicken and sauce separately up to 3 days.
- Freeze: Freeze cooked chicken (unsauced) up to 2 months. Freeze sauce separately if desired.
Reheat
- Oven: 400°F (205°C) for 10–12 minutes to re-crisp.
- Air fryer: 375°F (190°C) for 6–8 minutes (best for crunch).
- Microwave: Works, but crust softens—use only if you’re in a rush.
Tips
- Cornstarch is the secret: It makes the crust lighter and crispier than flour alone.
- Don’t overcrowd: Crowding drops oil temp and makes breading soggy.
- Rest on a rack: Keeps the bottom crisp (paper towels can steam the crust).
- Sauce timing: Drizzle right before serving to keep maximum crunch.
- Oil temperature: Medium heat gives time to cook through without burning the crust.
- Thin cutlets cook best: They stay juicy and cook evenly.
Variations
- Air Fryer Version: Spray coated chicken with oil spray, air fry at 390°F (200°C) 10–12 minutes, flipping halfway.
- Baked Version: Bake on a rack at 425°F (220°C) 18–22 minutes, flipping once, then sauce.
- Spicy Honey Garlic: Add sriracha or chili garlic sauce to taste.
- Lemon Honey Garlic: Add 1 tbsp lemon juice and a little zest to the sauce.
- Honey Garlic Wings: Use wing pieces and fry/bake, then toss with sauce.
- Gluten-Free: Use gluten-free flour blend + tamari instead of soy sauce.
FAQ
Can I use chicken thighs?
Yes. Boneless thighs are juicy and delicious. Pound them to an even thickness so they cook evenly.
How do I keep the coating from falling off?
Pat the chicken dry, press the second coating firmly, let it rest 5 minutes before frying, and avoid flipping too often.
What oil is best for frying?
Use a neutral high-heat oil like canola, vegetable, or peanut oil.
Should I toss the chicken in sauce or drizzle it?
Drizzling keeps the crust crispest. Tossing coats more evenly but softens the crunch faster—still delicious either way.
Can I make the sauce ahead?
Yes. Make it up to 5 days ahead and refrigerate. Reheat gently and thin with a splash of water if needed.