1. Make the Oreo Crust
-
Crush the Oreo cookies: place them in a food processor and pulse until you get fine crumbs. (If you don’t have a food processor, use a zip-top plastic bag and a rolling pin.) Live Well Bake Often+1
-
Pour the melted butter into the crumbs and mix until everything is moistened and evenly coated. Flour & Spice+1
-
Press the crumb‑butter mixture firmly into the bottom of a 9×9 inch (or similar) square pan — or a 9‑inch springform pan if you prefer cake form. Use the bottom of a glass or your fingers to press it evenly. Lil’ Luna+1
-
Place the crust in the refrigerator to chill while you prepare the filling. This helps it firm up and stay set when you add the filling. Life Love and Sugar+1
2. Prepare the Cream Cheese Filling
-
In a large bowl (or stand mixer), beat the softened cream cheese until smooth and creamy. Make sure it’s lump-free. Live Well Bake Often+1
-
Add powdered sugar and vanilla extract (if using); beat until fully incorporated and smooth. Crazy for Crust+1
-
In a separate bowl, whip the heavy cream until it forms stiff peaks. This adds lightness and helps the dessert set. Bakers Royale+1
-
Gently fold the whipped cream into the cream cheese mixture until combined. Be careful not to deflate the whipped cream too much — folding gently keeps it airy. Life Love and Sugar+1
-
Optional: fold in a handful of crushed Oreo pieces into the filling for extra texture and cookie bits. Flour & Spice+1
3. Assemble & Chill
-
Remove the crust from the fridge. Spread the cream cheese filling evenly over the crust. Smooth the top with a spatula. Lil’ Luna+1
-
Sprinkle remaining crushed Oreo crumbs over the top (or decorate with mini Oreos). If you like, you can also pipe or dollop whipped cream on top. Life Love and Sugar+1
-
Cover the pan with plastic wrap or foil and refrigerate for at least 3–4 hours, ideally overnight. This chilling period allows the filling to firm up and flavors to meld. My Baking Addiction+1
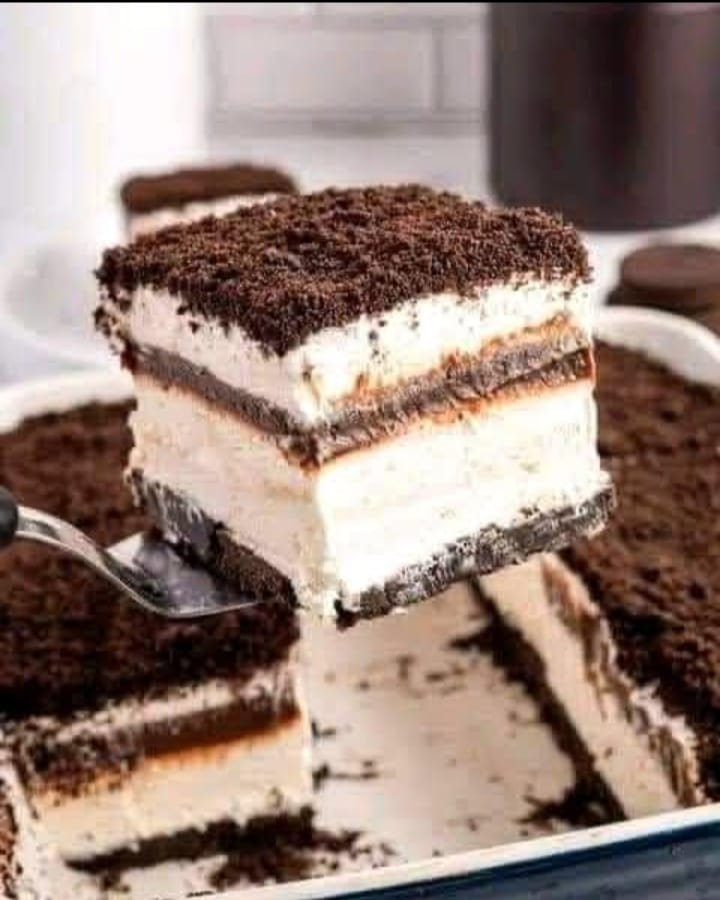
4. Serve & Enjoy
-
Once fully chilled and set, cut into squares or slices and serve.
-
For extra flair, add a dollop of whipped cream, a drizzle of chocolate sauce, or a few fresh berries.
️ Why This Dessert Works So Well
-
Minimal ingredients & no baking required: Because of the cheesecake-style filling and Oreo crust, this dessert avoids the need for an oven — perfect for hot days or quick prep. Many “no‑bake Oreo cheesecake” recipes follow nearly identical methods. Life Love and Sugar+2My Baking Addiction+2
-
Creamy yet light texture: The whipped cream folded into the cream cheese keeps the dessert rich but not overly dense — a pleasant balance that’s easy to scoop and eat. Bakers Royale+1
-
Chocolatey cookies‑and‑cream flavor throughout: With crushed Oreos in the crust, filling, and topping, every bite gets that signature Oreo crunch & flavor. Flour & Spice+1
-
Make‑ahead friendly: Because it needs chilling, it’s perfect to prepare a day ahead — ideal for parties, potlucks, or holiday meals. Life Love and Sugar+1
Tips & Variations
-
Use full-fat cream cheese and heavy cream for the best texture and stability. Low-fat versions may not set as well. Lil’ Luna+1
-
Don’t overmix when folding cream: Fold gently to keep mixture light and airy — overmixing may deflate the cream and yield a denser result. Life Love and Sugar+1
-
Crust firmness: If you want a firmer crust, press the crumbs tightly and refrigerate at least 30 min before adding filling. For extra stability, you can lightly bake the crust (5–7 min at 350 °F) — though that makes it a “bake + no‑bake hybrid.”
-
Alternate toppings: Try drizzling chocolate sauce, adding peanut butter swirls, or topping with chopped nuts for extra texture and flavor.
-
Convert to cups/individual servings: Instead of one pan, use small jars or dessert cups — layer crust, filling, and top with whipped cream for cute, individual portions.
Storage & Make‑Ahead Notes
-
Store covered in the fridge for up to 3–4 days. Life Love and Sugar+1
-
For longer storage, you can freeze — but for best texture keep in refrigerator. If frozen, thaw in fridge overnight before serving. tamingtwins.com+1