In a large bowl, whisk together the melted chocolate, vegetable oil, sugar, and vanilla extract. Mix until smooth and glossy. Add the eggs one at a time, beating well after each addition.
This step creates the shiny, brownie-like base that gives Chocolate Crinkle Cookies their texture.
3. Combine Dry Ingredients
In a separate bowl, whisk together the flour, baking powder, and salt. The even distribution of baking powder is what ensures the crinkle effect during baking.
4. Form the Dough
Gradually add the dry mixture into the wet mixture and stir until fully combined. The dough will be thick—almost like brownie batter.
5. Chill the Dough
Cover the bowl with plastic wrap and refrigerate for at least 3 hours, or overnight for best results.
Chilling is mandatory. Without it, the dough will be too soft to roll, and the cookies will not develop their signature crackle pattern.
6. Roll in Powdered Sugar
Use a cookie scoop or spoon to portion the dough into 1-inch balls. Roll each ball generously in powdered sugar.
Don’t be shy—thick powdered sugar coating = better crackle pattern.
7. Bake
Place the sugar-coated dough balls onto a parchment-lined baking sheet, leaving space between each ball. Bake at 350°F (175°C) for 10–12 minutes.
The cookies should be set around the edges but still soft in the center. They will continue to firm as they cool.
8. Cool and Serve
Allow cookies to rest on the baking sheet for 5 minutes before transferring to a cooling rack. Enjoy warm or fully cooled.
🎄 Tips for Perfect Chocolate Crinkle Cookies
✔ Chill the dough properly
Warm dough will flatten instead of cracking.
✔ Coat generously in powdered sugar
A thin layer disappears during baking.
✔ Use high-quality chocolate
Unsweetened chocolate bars melt best and give superior flavor.
✔ Don’t overbake
The cookies should look soft in the middle when removed—they firm up as they cool.
✔ Keep hands lightly powdered
This prevents sticking while rolling.
🍫 Variations to Try
1. Mint Chocolate Crinkles
Add ½ teaspoon peppermint extract for a refreshing holiday twist.
2. Spicy Mexican Hot Chocolate Crinkles
Add ½ teaspoon cinnamon and a pinch of cayenne.
3. Mocha Crinkles
Add 1 teaspoon instant espresso powder to the dough.
4. White Chocolate Drizzle
Once cooled, drizzle melted white chocolate over the tops.
5. Filled Crinkles
Insert a chocolate chunk or caramel square inside each dough ball.
❄️ Storage & Freezing Instructions
Room Temperature
Store in an airtight container for up to 5 days. They stay soft thanks to the oil-based dough.
Freezer – Dough
Roll into balls and freeze uncoated. Before baking, thaw slightly and roll in powdered sugar.
Freezer – Baked
Freeze baked cookies for up to 3 months. Layer with parchment to prevent sticking.
⭐ Full Printable Recipe
Chocolate Crinkle Cookies
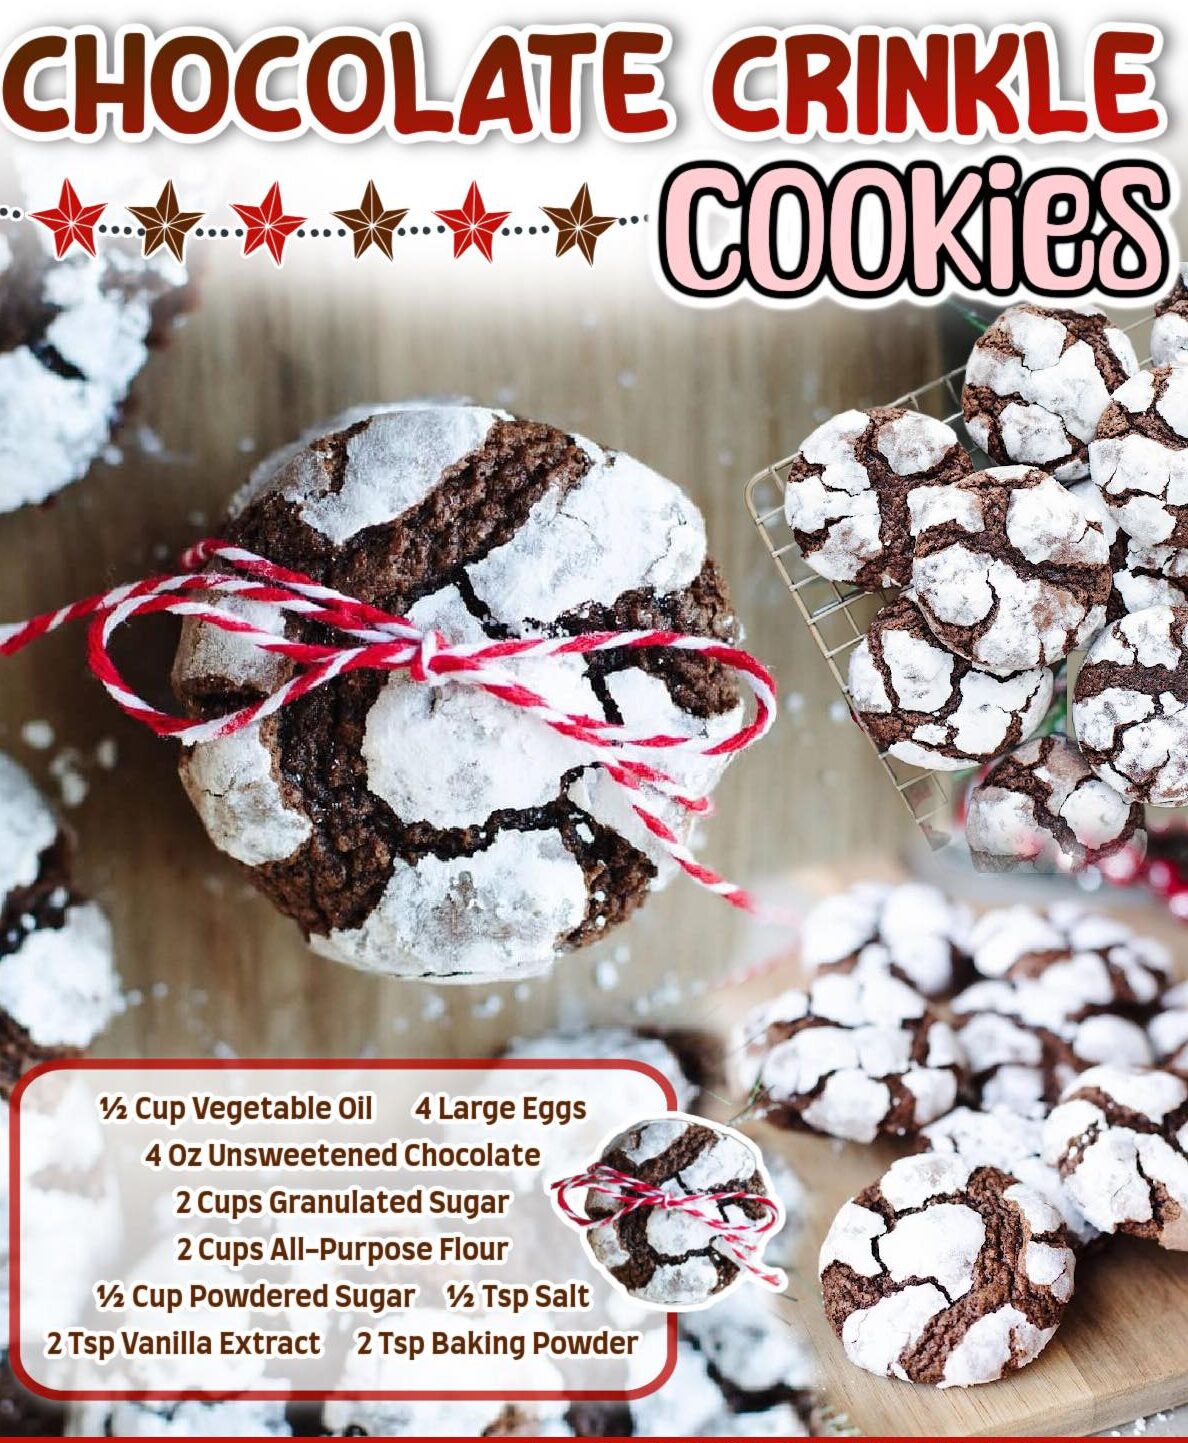
Ingredients
-
½ cup vegetable oil
-
4 large eggs
-
4 oz unsweetened chocolate, melted
-
2 cups granulated sugar
-
2 cups all-purpose flour
-
½ cup powdered sugar (for coating)
-
½ teaspoon salt
-
2 teaspoons baking powder
-
2 teaspoons vanilla extract
Instructions
-
Melt the unsweetened chocolate and allow it to cool slightly.
-
In a large bowl, whisk together the chocolate, oil, sugar, and vanilla.
-
Add eggs one at a time, mixing well.
-
In another bowl, whisk together flour, baking powder, and salt.
-
Slowly add dry ingredients to wet ingredients and mix until combined.
-
Cover and refrigerate the dough for at least 3 hours or overnight.
-
Scoop dough into 1-inch balls and roll in powdered sugar until heavily coated.
-
Place balls onto a parchment-lined baking sheet.
-
Bake at 350°F (175°C) for 10–12 minutes.
-
Cool on the baking tray for 5 minutes before transferring to a wire rack.
-
Serve and enjoy the fudgy, crackly perfection!
❤️ Final Thoughts
Chocolate Crinkle Cookies are everything we love about holiday baking—simple, nostalgic, eye-catching, and unbelievably delicious. Whether you’re new to baking or a seasoned pro, this recipe delivers consistent, bakery-quality results that will have everyone asking for seconds.