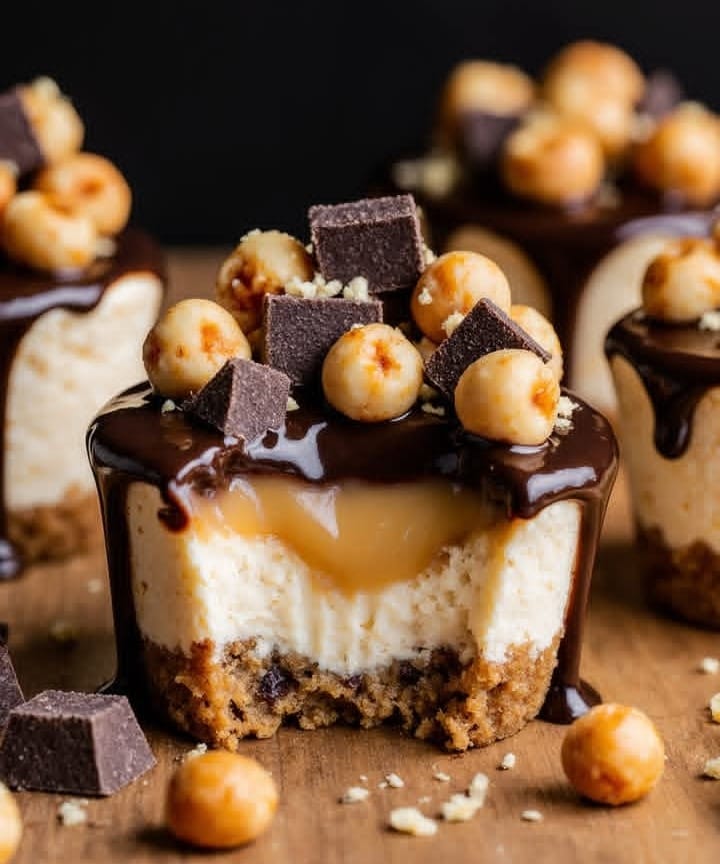
Here’s a full recipe for Decadent & Dreamy No‑Bake Reese’s Peanut Butter Cheesecake Cups — an easy, indulgent dessert that’s creamy, chocolatey, peanut buttery, and perfect for parties or a cozy night in
-
No baking needed — no oven, no water bath, just mix, chill, and enjoy. lifebyleanna.com+2The Recipe Rebel+2
-
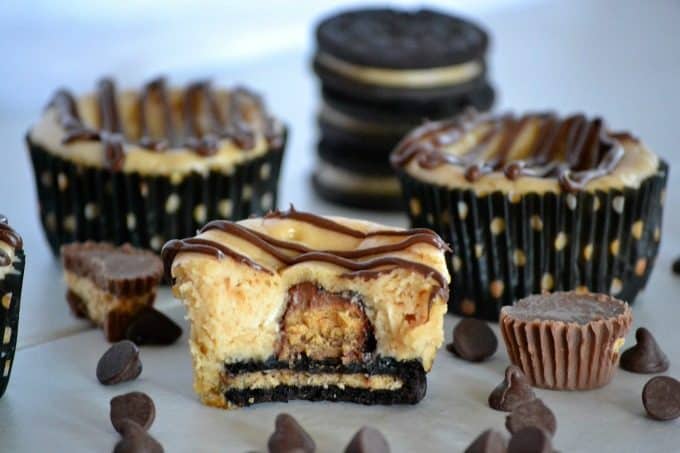
Perfect portion size — served in individual cups or silicone molds, making serving and storing easy while adding a cute presentation. lifebyleanna.com+1
-
Classic flavor combo — creamy cheesecake meets peanut butter, chocolate, and chopped Reese’s peanut butter cups for the ultimate peanut‑butter lovers’ dessert. Life Love and Sugar+2Beyond Frosting+2
-
Make‑ahead friendly — assemble ahead of time and chill; they hold up well in the fridge or freezer until ready to serve. lifebyleanna.com+1
Ingredients (for about 12–14 cups or servings)
Crust
-
1½ cups (≈ 150 g) chocolate graham cracker crumbs (or crushed chocolate cookies) lifebyleanna.com+1
-
6 tablespoons (≈ 85 g) melted butter lifebyleanna.com+1
Peanut Butter Cheesecake Filling
-
2 cups (≈ 450 g) full-fat cream cheese or — for a lighter texture — farmers cheese (or cottage cheese, well-blended) lifebyleanna.com+1
-
½ cup (about 125–140 g) creamy peanut butter (not natural / runny) Life Love and Sugar+1
-
¼ cup (≈ 50 g) granulated sugar (or adjust to taste) lifebyleanna.com+1
-
3 tablespoons honey (optional — for extra smoothness and subtle sweetness) lifebyleanna.com
-
1 teaspoon vanilla extract lifebyleanna.com+1
Chocolate Topping & Garnish
-
1 cup (≈ 175 g) semi-sweet (or milk) chocolate chips (or chopped chocolate) lifebyleanna.com+1
-
1 tablespoon coconut oil — helps create a smooth, glossy chocolate shell when melted & cooled lifebyleanna.com+1
-
½ cup chopped Reese’s peanut butter cups (or mini peanut butter cups) — more if you like extra crunch and candy bits in every bite. lifebyleanna.com+1
Equipment You’ll Need
-
Silicone cupcake molds or a standard muffin tin with liners — makes removal easy. lifebyleanna.com+1
-
Food processor or rolling pin + plastic bag (to crush the crackers/cookies)
-
Mixing bowls & spatula or electric mixer
-
Microwave-safe bowl (for melting chocolate)
-
Fridge (for chilling / setting)
Step‑by‑Step Instructions
1. Prepare the Chocolate Crust
-
Crush the chocolate graham crackers (or cookies) until fine. A food processor works fastest — or use a plastic bag + rolling pin. lifebyleanna.com+1
-
Mix the crumbs with melted butter until fully coated. lifebyleanna.com
-
Press the mixture firmly into the bottom of each silicone mold or muffin liner — about 1–2 tablespoons per cup, depending on size. Use the back of a spoon or the bottom of a glass to pack down. lifebyleanna.com+1
2. Make the Peanut Butter Cheesecake Filling
-
In a mixing bowl, combine the cream cheese (or farmers cheese), peanut butter, sugar, honey (if using), and vanilla extract. Blend until smooth and fully combined. lifebyleanna.com+1
-
If using cream cheese, make sure it’s soft / at room temperature — this ensures smooth, creamy filling. Life Love and Sugar+1
-
Spoon or pipe the filling over the crust in each cup, smoothing the top gently. lifebyleanna.com+1
3. Chill to Set
-
Cover and refrigerate for at least 2–3 hours — though overnight chilling yields the best, firm yet creamy texture. lifebyleanna.com+1
4. Add Chocolate Topping & Peanut Butter Cups
-
Melt the chocolate chips with the coconut oil in short bursts in the microwave (e.g. 20–30 sec), stirring until smooth. lifebyleanna.com+1
-
Spoon or drizzle a thin layer of melted chocolate over each cheesecake cup. Immediately sprinkle chopped Reese’s peanut butter cups on top so they stick to the chocolate while it sets. lifebyleanna.com+1
-
Return to fridge for another 15–30 min (until chocolate topping firms).
5. Serve & Enjoy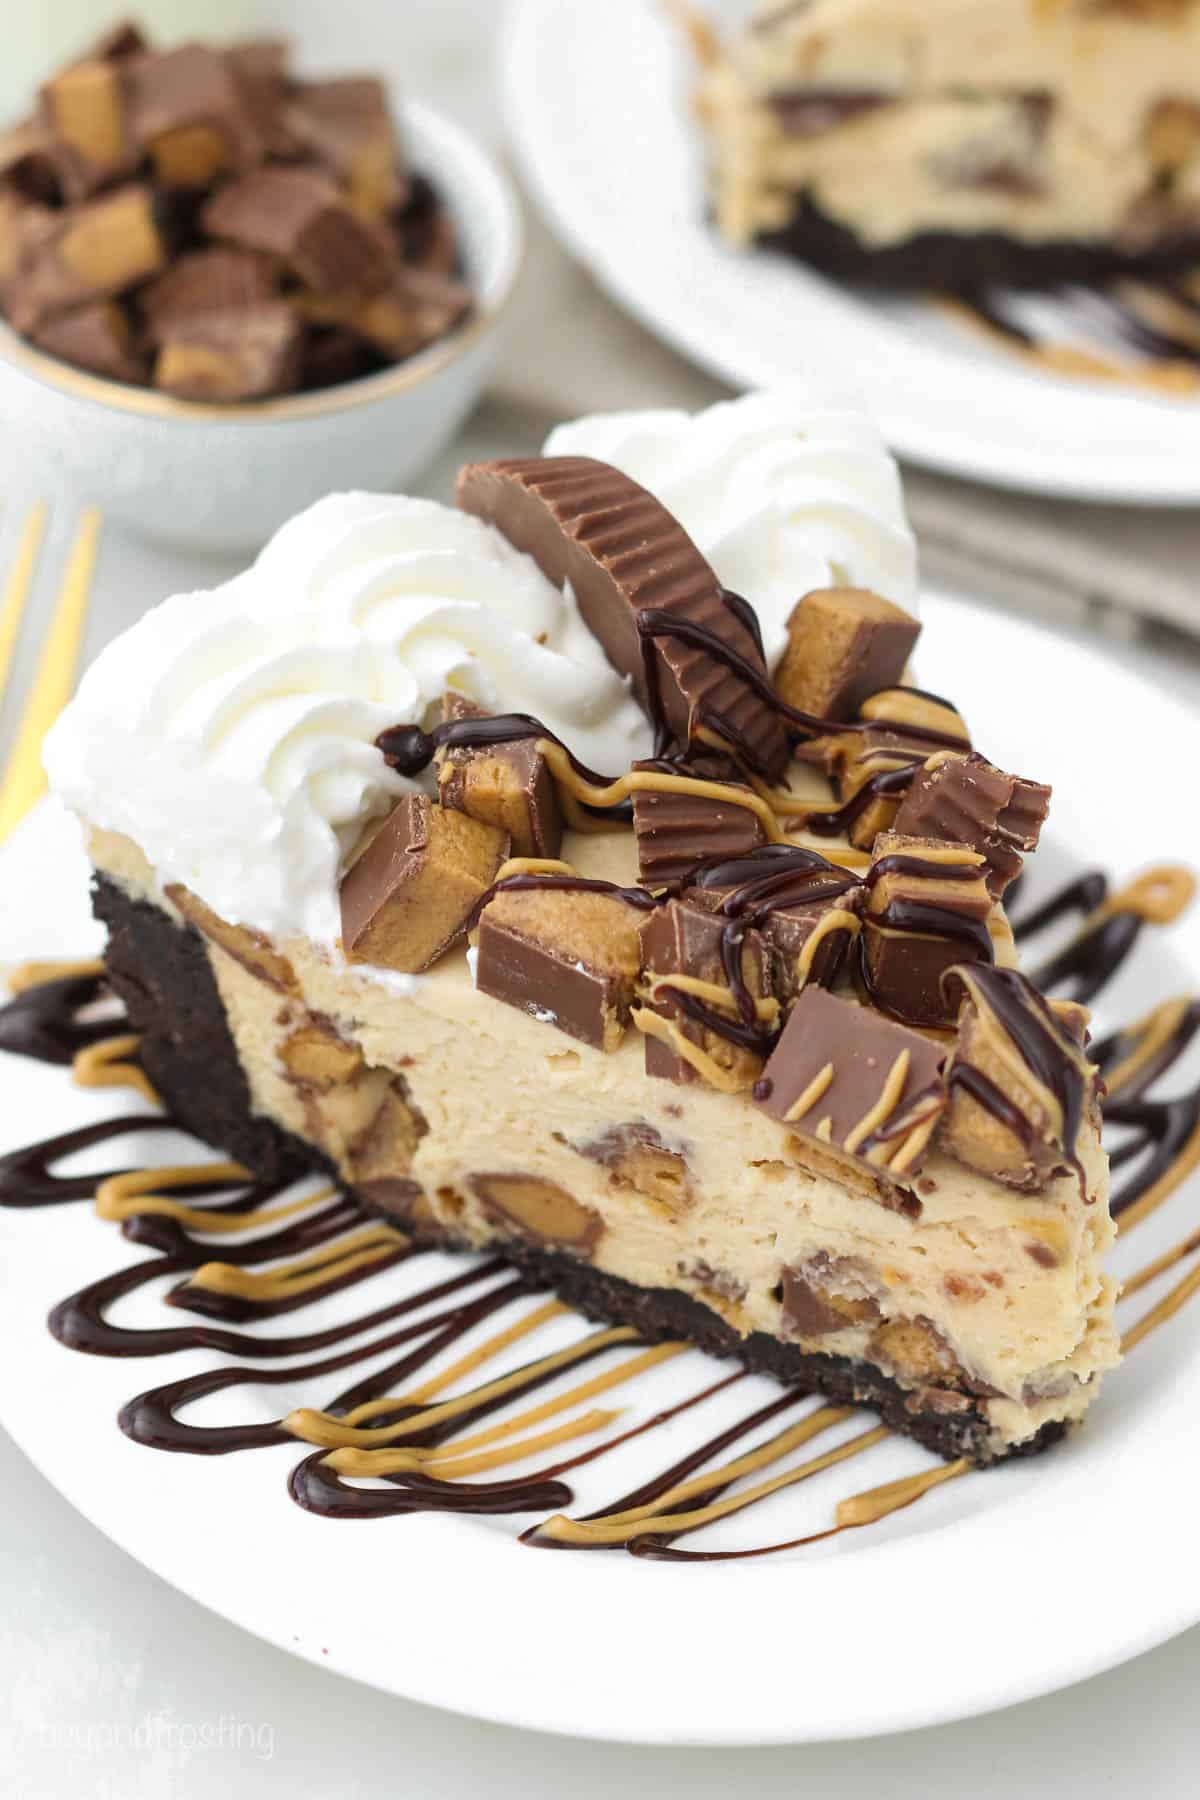
-
Pop the cheesecake cups out of the molds (if using silicone) or peel off liners carefully.
-
For extra flair, serve on small dessert plates, add a dusting of powdered sugar, a drizzle of extra melted chocolate, or a drizzle of peanut butter.
Tips for Best Results & Variations
-
Cream cheese vs. farmers cheese — Cream cheese gives a richer, classic cheesecake flavor and texture; farmers cheese (or well‑blended cottage cheese) yields a lighter, slightly tangier filling. Choose based on your preference. lifebyleanna.com+1
-
Stabilize the filling — Make sure cream cheese is soft and peanut butter is creamy, not oily. If the filling seems too loose, chill longer or use less liquid‑heavy ingredients. Life Love and Sugar+1
-
Chocolate shell tips — Adding a bit of coconut oil melts the chocolate smoother and helps it harden with a glossy, crackly finish — like a candy shell. lifebyleanna.com+1
-
Make‑ahead & storage — These cups keep well in the fridge for 4–5 days (covered) or freeze (without chocolate topping) for up to 2 months. When ready to serve, thaw in fridge, add topping if frozen. lifebyleanna.com+1
-
Gluten‑free option — Use gluten‑free chocolate cookies or gluten‑free graham crackers for the crust; everything else is naturally gluten‑free. lifebyleanna.com+1
-
Peanut‑free swap — If peanuts are a concern, replace peanut butter with almond butter or sunflower seed butter, and skip the Reese’s topping or use allergy‑safe alternatives. Texture and flavor will differ but still delicious. lifebyleanna.com+1
Serving Ideas & When to Make Them
-
Great for parties, potlucks, or holiday gatherings — easy to make ahead, portable, and crowd‑pleasing.
-
Serve as individual desserts after dinner — no slicing needed.
-
Gift idea: Package a few cups in small clear containers as a homemade sweet treat for friends or neighbours.
-
Kids’ lunchbox dessert — small, rich, and fun to eat, especially with the chocolate topping and candy bits.