Caulk edges and paint
Pros: Modern, clean look
Cons: More work and cost
3. Fill the Gap with Caulk or Foam Backer Rod
For small gaps (under ½”), flexible caulk can work. For larger gaps (like 1 inch), insert foam backer rod first.
Steps:
-
Clean the gap
-
Press in foam backer rod (for wide gaps)
-
Run a bead of paintable latex caulk over it
-
Smooth with finger or caulking tool
-
Paint to match
Pros: Inexpensive and quick
Cons: Less durable, not ideal for large or uneven gaps
4. Custom Wood Trim or Riser Strip
For a 1-inch gap like in your photo, you can also custom-cut a slim wood strip to install beneath the baseboard.
How to:
-
Use a table saw to rip a strip of wood to match the gap height
-
Nail or glue the strip directly below the baseboard
-
Caulk and paint
Pros: Seamless look
Cons: Requires precise cutting
5. Leave the Gap (Decorative Rugs or Furniture Placement)
In some informal or rustic settings, you might not need to fix the gap structurally.
Ideas:
-
Use area rugs to hide sections
-
Strategically place furniture
-
Paint inside the gap to match floor or baseboard for camouflage
Pros: No tools or money
Cons: Only cosmetic, not a permanent fix
️ Tools You Might Need
-
Tape measure
-
Miter saw or hand saw
-
Nail gun or hammer & finishing nails
-
Paintable caulk
-
Foam backer rod (for larger gaps)
-
Wood filler or putty (optional)
-
Paint & brush
Pro Tip:
If you’re planning to refinish the hardwood, fix the gap after sanding and staining. That way, your trim covers any edge imperfections.
️ Final Thoughts
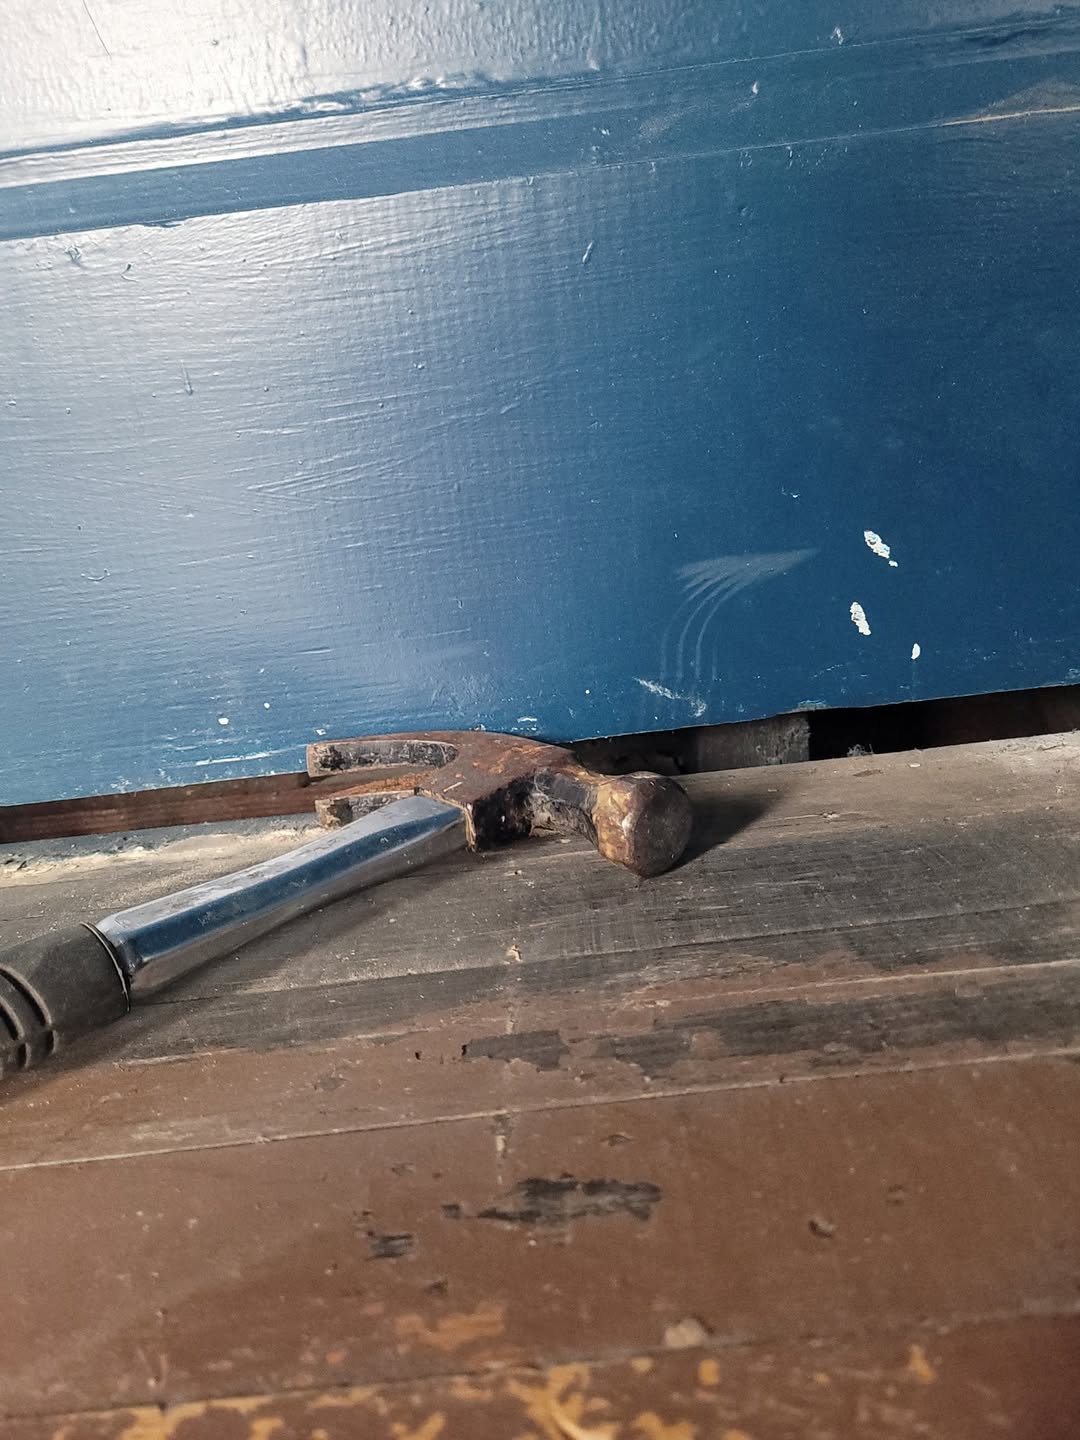
The image above perfectly illustrates a common renovation “surprise” — a hammer holding down a stubborn board while revealing a good-sized trim gap. Whether you go for a quick fix or a full trim replacement, the goal is to create a smooth, clean transition from wall to floor.
Want the finished look of a pro without the cost? Quarter round or shoe molding is your best friend — fast, flexible, and forgiving.