While your brownies bake, begin melting your chocolate chips and butter. You can do this either in the microwave or using a double boiler.
Microwave method:
Heat in 20-second intervals, stirring each time, until the chocolate is perfectly smooth.
Stir in the vanilla extract and a pinch of salt for deeper flavor.
3. Add the Marshmallows and Peanuts
Once the chocolate is melted, gently fold in ½ cup marshmallows and ½ cup peanuts, reserving the other halves for topping. This step creates texture inside the fudge layer rather than having all the toppings sit on top.
Mix just long enough to distribute — you don’t want the marshmallows to melt completely.
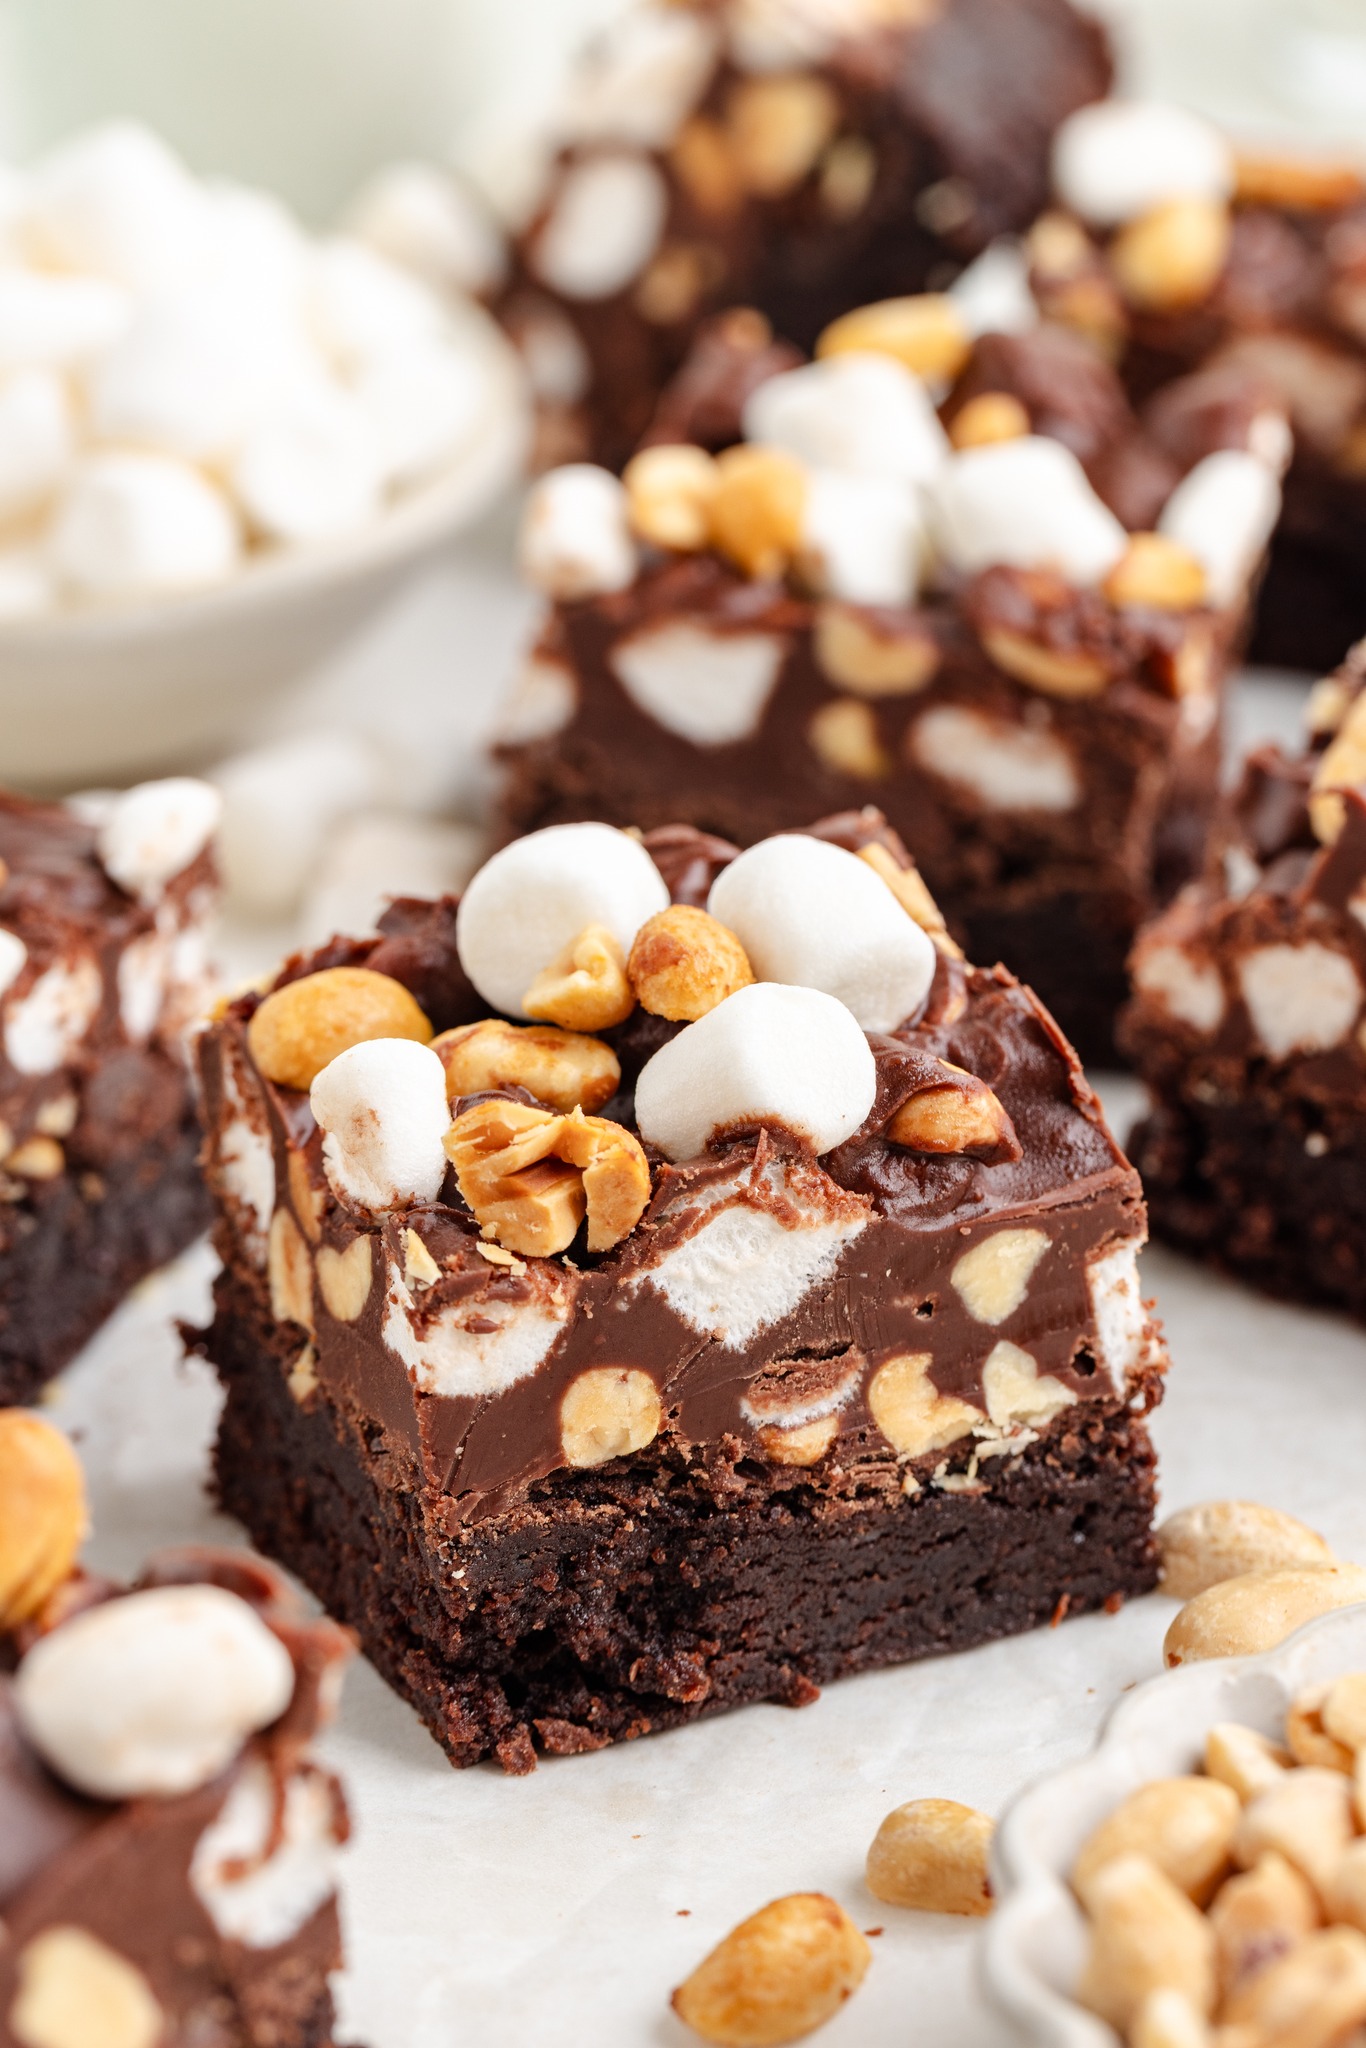
4. Assemble the Rocky Road Layer
When the brownies come out of the oven, let them cool for about 10 minutes. They should still be warm, but not hot enough to melt the marshmallows instantly.
Pour the chocolate mixture over the brownies and spread evenly using a spatula.
Immediately sprinkle the remaining ½ cup mini marshmallows and ½ cup peanuts on top. Gently press them down so they adhere to the chocolate surface.
5. Chill and Set
For the cleanest slices, refrigerate the brownies for at least 1 hour. This allows the chocolate topping to firm up while keeping the brownie base soft and fudgy.
Once set, lift the brownies from the pan using the parchment edges and cut them into neat squares. Expect admiration from anyone watching — these brownies are showstoppers.
⭐ Tips for Perfect Rocky Road Brownies
✔ Use salted peanuts
The contrast between sweet chocolate and salty nuts makes every bite more addictive.
✔ Don’t overbake
For a fudgy center, remove the brownies as soon as a toothpick comes out with moist crumbs.
✔ Add mix-ins inside the batter
Chopped nuts, mini chocolate chips, or even caramel bits can be folded into the brownie batter for extra indulgence.
✔ Try flavor variations
-
Dark chocolate chips for a richer topping
-
Almonds + almond extract for a classic Rocky Road flavor
-
White chocolate drizzle for a bakery-style finish
-
Peanut butter swirl added before baking
⭐ Why This Recipe Works
The difference between ordinary brownies and Rocky Road Brownies comes down to TEXTURE.
The Brownie Layer:
Dense, fudgy, moist — the perfect foundation.
The Chocolate Topping:
Acts like a soft fudge that sets into a thick layer but still melts in your mouth.
Marshmallows:
Provide chewiness and pockets of softness throughout the topping.
Peanuts:
Give just enough crunch and salt to balance the sweetness.
Together, these layers create a multi-dimensional dessert that hits every craving at once.
⭐ Serving Suggestions
These brownies taste incredible:
-
Fresh from the fridge
-
At room temperature
-
Topped with vanilla ice cream
-
With a drizzle of hot fudge
-
On a party platter
-
Wrapped as edible gifts
They store beautifully and stay moist for days — if they even last that long.
⭐ Storage Instructions
Room Temperature:
Store in an airtight container for up to 3 days.
Refrigerator:
Keeps well for 5–6 days and slices stay perfectly firm.
Freezer:
Wrap tightly and freeze for up to 3 months. Thaw at room temperature before serving.
⭐ Final Thoughts
This Rocky Road Brownie recipe is proof that boxed mixes are not shortcuts — they’re tools for creativity. With just a handful of simple additions, you can turn a basic brownie into a gourmet treat worthy of any celebration.
If you’ve ever wanted a dessert that is unbelievably easy yet wildly impressive, this is it. Every bite is gooey, crunchy, chocolate-packed perfection — the kind of treat that disappears from the platter before anything else.