The crust creates a crisp, buttery base that contrasts perfectly with the creamy cheesecake.
In a bowl:
-
Combine chocolate crumbs, sugar, and melted butter.
-
Mix until the texture resembles wet sand.
-
Spoon about 1 tablespoon into each cavity.
-
Press down firmly using the back of a spoon or a small flat-bottom glass.
Bake for 5 minutes, then let cool while preparing the filling.
3. Make the Chocolate Cheesecake Batter
This batter is rich, smooth, and extra chocolatey!
Beat the cream cheese
Using a hand mixer or stand mixer:
-
Beat cream cheese for 2–3 minutes, until completely smooth and lump-free.
Add sugars
-
Add granulated and brown sugar.
-
Beat again until the mixture looks light and creamy.
Add egg + yolk
Add one egg at a time, mixing just until blended.
(do NOT overmix—this introduces air and causes cracks)
Add sour cream + vanilla
These ingredients give cheesecake its signature silky texture.
Add cocoa powder, cornstarch & salt
Mix on low until fully incorporated.
Add melted chocolate
Slowly pour in the melted chocolate while mixing on the lowest setting.
Your batter should now be thick, glossy, and beautifully smooth.
4. Fill the Cheesecake Cavities
-
Spoon batter over each pre-baked crust, filling almost to the top.
-
Tap the pan gently to release air bubbles.
5. Bake
Bake at 325°F (163°C) for:
-
14–17 minutes in a muffin tin
-
18–20 minutes in a mini cheesecake pan
You’ll know they’re done when:
-
The edges are set
-
The centers still jiggle slightly
Remove from the oven and let cool in the pan for 30 minutes.
6. Chill
Transfer cheesecakes to the refrigerator and chill at least:
-
3 hours, preferably overnight for best flavor and texture.
Chilling allows the chocolate flavor to deepen and the texture to firm to creamy perfection.
💡 TIPS FOR PERFECT MINI CHEESECAKES
✔ Don’t overbake
Mini cheesecakes firm up as they cool. Overbaking leads to dryness and cracks.
✔ Use room-temperature ingredients
Cream cheese, sour cream, and eggs integrate more smoothly.
✔ Don’t skip the cornstarch
It stabilizes the filling and prevents shrinkage.
✔ Melt chocolate gently
Microwave in 20-second intervals and stir until smooth.
✔ Chill completely before removing
Warm cheesecake is fragile and can lose shape—chilling sets the structure.
🎀 DECORATION IDEAS
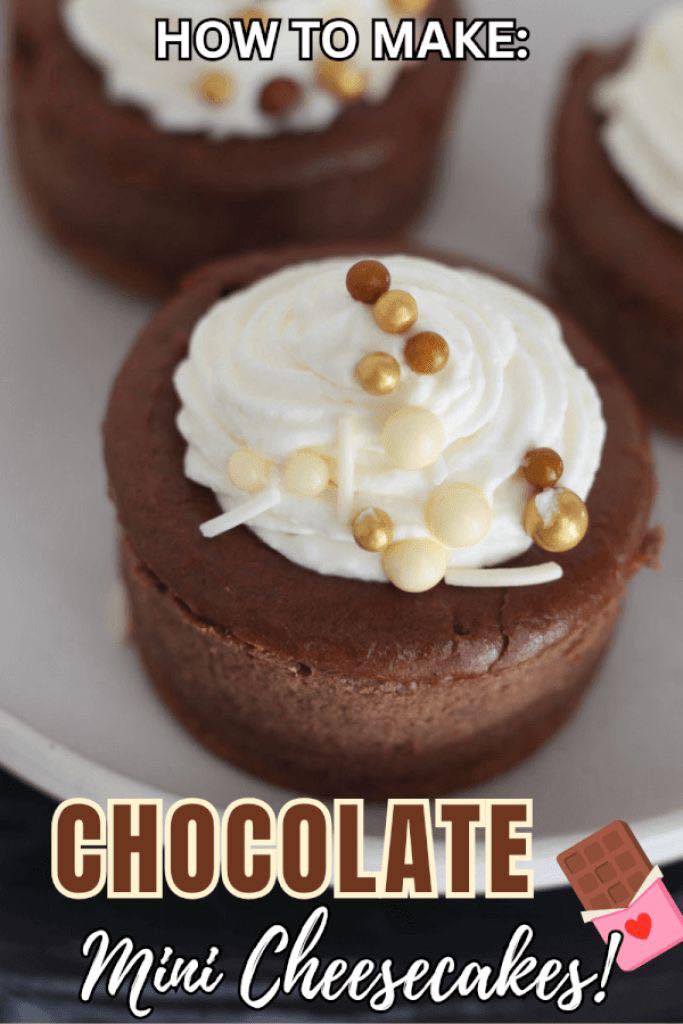
Whipped Cream Swirls
Pipe sweetened whipped cream on top using a star tip.
Gold Sugar Pearls (like in your photo)
These give an elegant holiday touch.
Chocolate Ganache
Mix equal parts warm cream + chocolate, drizzle on top.
Strawberries or Raspberries
Add a fresh pop of color.
🍽 STORAGE & SERVING
Refrigerator
Store in an airtight container for up to 5 days.
Freezer
Freeze individually wrapped cheesecakes (without whipped cream) for:
-
Up to 2 months
Thaw overnight before serving.
📌 WHY THIS RECIPE WORKS
This recipe balances:
-
Creaminess from the cream cheese + sour cream
-
Structure from the egg and cornstarch
-
Depth from both cocoa powder and melted chocolate
-
Convenience of mini cheesecakes (quick bake, no water bath)
Each bite is velvety smooth with rich chocolate flavor and a delightful crumbly crust underneath. The individual size keeps portions tidy and allows for easy serving.
It’s the perfect dessert for celebrations—elegant enough for gatherings, yet simple enough for beginner bakers.
❤️ FINAL THOUGHTS
If you love chocolate, cheesecake, or desserts that look fancy but are secretly easy, these Chocolate Mini Cheesecakes will quickly become a favorite. They are:
-
Gorgeous on the plate
-
Smooth and rich
-
Perfectly portioned
-
Fun to decorate
You can customize them for birthdays, weddings, holidays, and more—simply change the toppings.
Enjoy every creamy, chocolatey bite! 🍫✨